Organic Crispy Smashed Potatoes

Hi friends! I’ve been away for a very long time, but I’m BAAAAACK! Whoop!

After a hiatus from blogging, I’m back at it now that I have some structure to my day. I hope to be able to share some fun new recipes with you as I get back to cooking more regular meals. In the last year we’ve had a baby girl, moved to a new house and have a couple of new family members living with us! My goal is to come up with kids lunch/snack and dinner ideas to keep us going throughout the week and weekends and post them for you!

So on to the recipe…

For the past few months we’ve been getting an organic food box delivered to our house from Organics Live. We used to do this when we lived in Toronto with Front Door Organics, and we really enjoyed it. It forced us to eat more vegetables and cook with ones that we wouldn’t normally pick up at the grocery store.  Clean eating is important to us, especially with kids in the house. Everyone needs to have lots of energy and we want to feel good about what we’re putting into our bodies, so we’ve started with a new box!

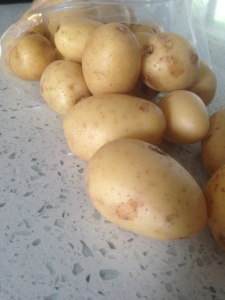
The quality of the food is great and this week I’d like to share a fun kid-friendly potato recipe. Since it’s still really warm out, we’ve been eating a lot of food cooked on our new BBQ.  Tonight, I’m making a simple dinner with BBQ sausages, roasted organic bi-colour corn from Quebec and these lovely organic mini-potatoes – both veggies from our Organics Live box that was delivered yesterday.  (I’m working on upgrading our meat and buying a bulk barnyard box from our favourite farm, Harrington Lane Farms in Hamilton. $60 for a mix of of pork, beef, lamb, duck, chicken, rabbit or turkey cuts and sausages. We can’t wait!)

Anyhoo, these will be super fun to eat, look cool and of course be delicious. They have 4 ingredients and are sure to be a staple in your dinner menus! P.S. They also make a great starter or a fun appie if you’re having friends over. They are finger-food friendly and won’t make a mess when handled by little hands.

potato1

P.S. Excuse the quality of the photos! Turns out when I have a little one running ’round the kitchen I don’t have time to stage photos as nicely as I wanted.


Ingredients

  • 15-18 baby potatoes (can be red, white or purple, whatever you have on hand)
  • a few good glugs of EVOO up to 1/2 a cup of oil. You don’t want them to be greasy but you want enough oil for them to crisp up.
  • 1/2 to 1 tsp sea salt
  • 1-2 tsp garlic powder

Directions – You can do all 4 steps ahead of time!

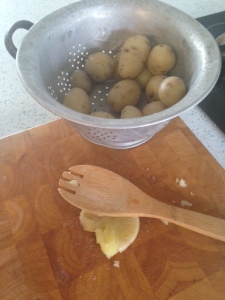
  1. Wash the lil potatoes and add them to a large pot of salted water. Ensure the potatoes are covered with at least an inch of water
  2. Bring the potatoes to a boil then reduce and simmer for 15-20 minutes until cooked. Do not over cook. You want to be able to pierce them with a knife. When finished boiling, drain and run under cool water to slow down the cooking. They will continue to cook if you don’t cool them down enough.
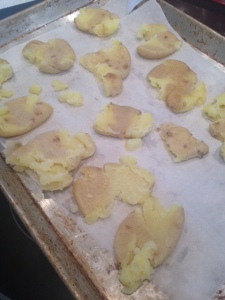
  3. When the potatoes have cooled enough to handle, place them one at a time on a clean cutting board and use the back of a wooden spoon to gently flatten. Don’t take too much frustration out on these little guys, they will be somewhat delicate!
  4. Transfer each flattened potato to a lined rimmed baking sheet and let them cool completely.

potato2

When you are ready to roast the potatoes:

  1. Pre-heat the oven to 425 degrees.
  2. Pour a few good glugs of EVOO in a small dish. Add the garlic powder and salt to the EVOO and mix it up. Pour the oil mixture over the smashed potatoes. Make sure some of the oil gets under the potatoes on the baking sheet. You want each one lightly covered in the oil mixture.
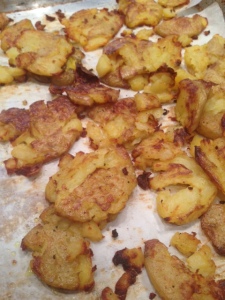
  3. Roast the potatoes for 30-45 minutes, flipping once during roasting until both sides are light brown and crispy.
  4. Serve hot with a small dollop of sour cream and chives or enjoy them on their own!
potato3

potato4

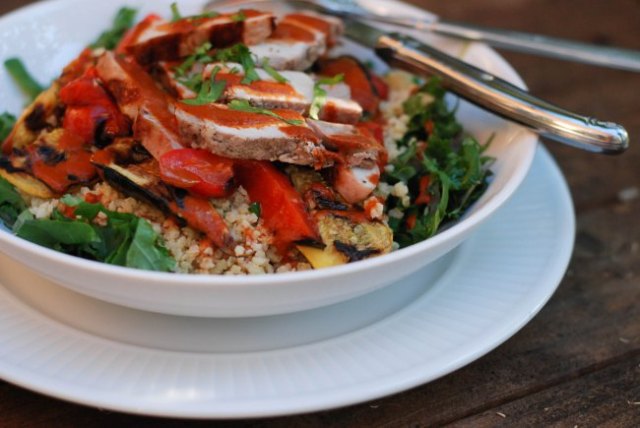
Grilled veggies, millet, greens, cocoa chili dressing

Wowza- a must try recipe with millet and coco chili dressing!!

Wendy's Place

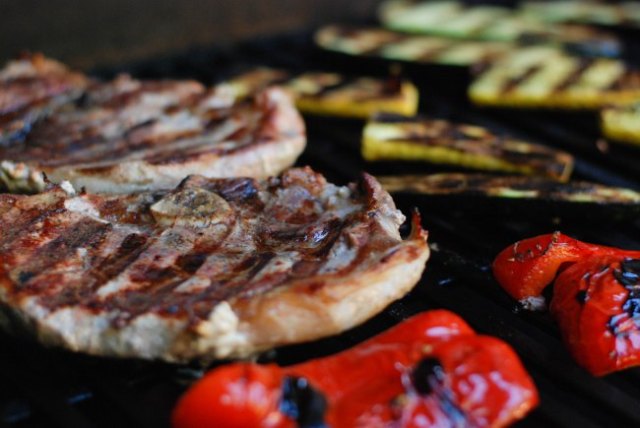
Grilled red peppers, yellow squash, zucchini and pork shoulder chops on a bed of greens and millet is topped with a dressing concocted of olive oil, grilled red pepper, cocoa powder,worcester sauce, honey and a dash of lemon. You can add as much heat as desired. This recipe is based on the one I found in the June issue of Yoga Journal (a favorite of mine) and I think it’s a great one for this holiday weekend.

summer veggies, cocoa chili dressing-6I think it would be just as lovely as it was written in Yoga Journal with grilled corn, black beans and a mesclun mix. But I opted for pork (just bought a LOT of local pork) and our garden greens which at the moment are tender young kale and spinach. I made the millet the night before and warmed it up with some broth- a little water and salt would do just fine.

summer veggies, cocoa chili dressing-3These shoulder…

View original post 381 more words

Because I’m Happy

Happy Friday Friends! Just came across this wonderful cover of Pharells “happy” song by John Butler Trio.

For those of you who know me – you know that I’m obsessed with this band and have been since I first heard them while laying on a beach on Great Kepple Island in Australia.

I hope you all are enjoying this awesome weather and feeling happy yourselves! Cheers!!

JBT covers “Happy”

Healthy Gluten/Dairy/Sugar-Free Chewy Granola Bar Recipe

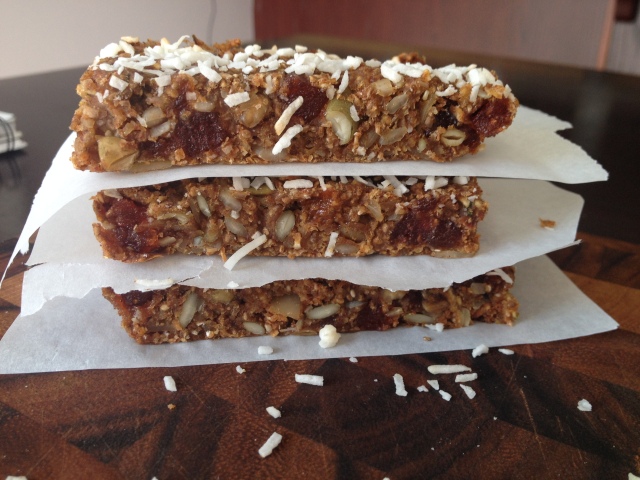
I’m always on the hunt for the next awesome granola bar recipe. I love experimenting with new ingredients! I read through a handful of recipes this week and decided to mash them all together and make my own, like usual. This recipe didn’t disappoint. I love that it uses ground up oats for oat flour, and pretty much every seed I had in my pantry. The other thing I loved, is it used the majority of the dates that I had sitting on top of the fridge as the binder. Blending the dates in water creates a paste that acts as a binder with the oat flour. It’s perfect and sweet without any added sugar. Woot! Seriously addictive and the perfect snack for my purse. For a little added visual appeal, I sprinkled unsweetened shredded coconut on top. Now they look perty.

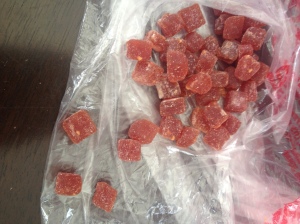
Here are the little squares of fruit that I picked up at the Bulk Barn. I can’t for the life of me remember the name of them, they have strawberry, raspberry and mango – and they’re pressed together with other fruit. I liked the way they looked so I bought a small bit of them to try in this recipe. The kind I used is the raspberry ones.

Dried fruit

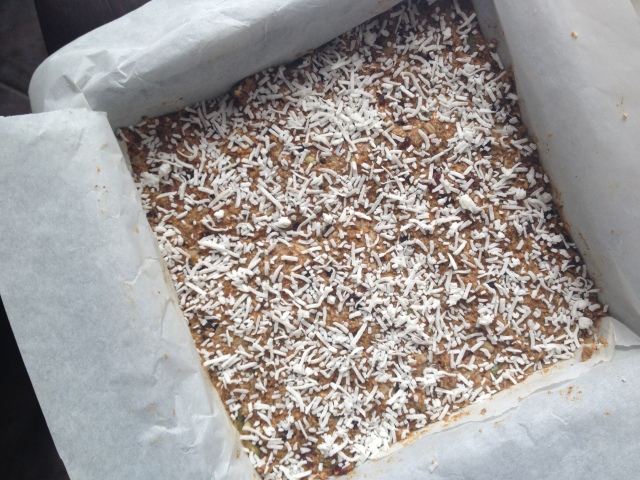
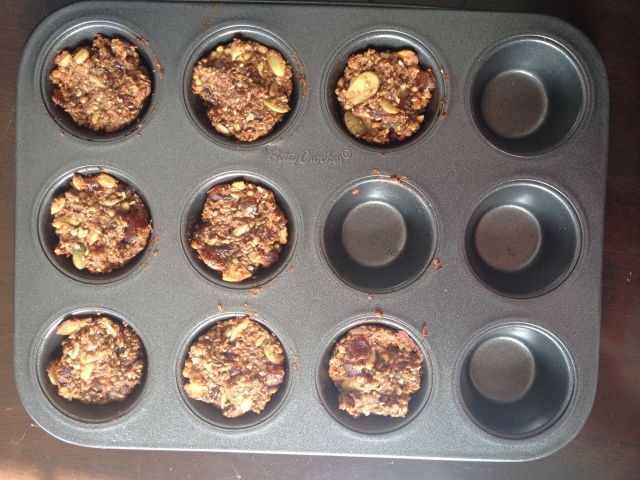
I use an 8 x 8 baking pan instead of the 9 x 11 glass baking dish because I wanted the bars to be square instead of rounded at the corners (I am very specific about how my baking comes out, okay! :)). I had some left over after pressing it into the square pan (didn’t want them to be too thick) so I decided to make mini bites out of the leftover and used the mini-muffin pan.

When lining the pan, overlap your parchment paper so it covers each side. Much easier to remove and prevents breaking after they’re cooled.

In the pan


Mini


I baked them for about 15 minutes and they came out PERFECT. I threw a couple in a ziplock and into my purse they went. Nice easy bite-sized snack.

IMG_3176[1]


After the original batch finished baking, I let them cool (DO NOT SKIP THIS STEP) and then cut them into bars!

IMG_3163[1]


Mmm… just perfect. They were easy to cut and even easier to eat! Enjoy!

Finished product


Ingredients:
• 3/4 cup gluten-free rolled oats, ground into a flour
• 1 cup water
• 3/4 cup packed pitted Medjool dates
• 1/2 cup chia seeds
• 1/4 cup raw sunflower seeds
• 1/4 cup raw pumpkin seeds
• ¼ cup red oat bran
• ¼ cup hemp seeds
• ¼ cup sunflower seeds
• 1/2 cup dried fruit of your choice, chopped to desired size
• ¼ cup your favourite nut butter (I used almond)
• 2 teaspoons cinnamon
• 2 teaspoons pure vanilla extract
• 1/4 teaspoon fine grain sea salt

Directions:
1. Preheat oven to 325F and line a 9-inch square pan with two pieces of parchment paper, one going each way.
2. Add rolled oats into a high-speed blender. Blend on highest speed until a fine flour forms. Add oat flour into a large bowl.
3. Add water and pitted dates into blender. Allow the dates to soak for 30 minutes if they are a bit firm or your blender has a hard time blending dates smooth. Once they are soft, blend the dates and water until super smooth.
4. Add all of the ingredients into the bowl with the oat flour and stir well until combined.
5. Scoop the mixture into the pan and spread it out with a spatula as evenly as possible. You can use lightly wet hands to smooth it down if you need to.
6. Bake at 325F for about 23-25 minutes, or until firm to the touch. Let cool in the pan for 5 minutes and then lift it out and transfer it to a cooling rack for another 5-10 minutes. Slice and enjoy! I suggest freezing leftovers to preserve freshness.

Harissa Paste Recipe

Ready to spice up your kitchen? Move over boring salsa and ketchup! This red raven condiment is sure to make your taste buds pop. I usually make a batch and keep it in the fridge, although it never lasts longer than a few weeks.  I add it to my homemade hummus, roasted veggies, chicken, pork, rice dishes and everything in between.

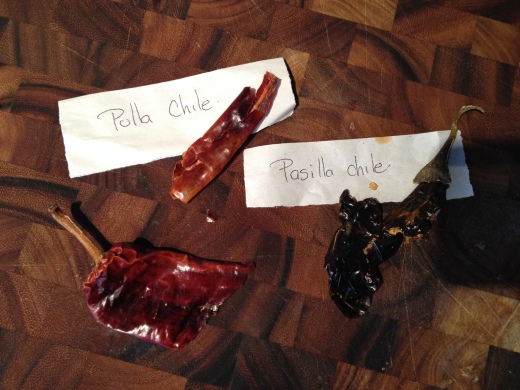
This lovely Tunisan chili paste is so versatile. I came across a recipe about a year ago that called for it, and knowing that it wasn’t at my local grocery store, I knew I wanted to learn how to make it. Each paste will be different, some are made with roasted red peppers (like the one I made last year), some with tomatoes, some with chilies and some with a combo of all three. So you will get something a little different with each one you buy. Today I decided to make one with JUST chilies. We are having friends over for dinner tonight and I am making baked chicken with harissa chickpeas and leeks. I’ll use 1/4c of the harissa in the recipe, which will give it a little bit of a kick, but not blow off your lips hot :).

Image

Image

Ingredients
4 ounces dried chiles of your choice (see Recipe Notes)
1 teaspoon caraway seeds
1 teaspoon coriander seeds
1 teaspoon cumin seeds
3 to 4 garlic cloves, peeled
1 teaspoon kosher salt, or to taste
2 tablespoons extra virgin olive oil, plus more for storing
Optional additions: fresh lemon juice, preserved lemon, fresh or dried mint, fresh cilantro, sun-dried tomatoes, tomato paste, cayenne, paprika

Equipment
Heatproof bowl for soaking chiles
Skillet for toasting spices
Spice grinder, coffee grinder, or mortar and pestle for grinding spices
Food processor or mortar and pestle for mixing paste
Airtight jar for storage

Instructions

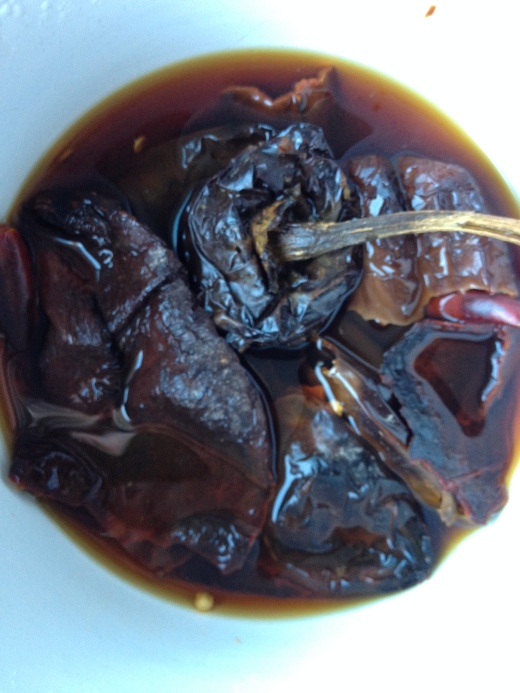
  1. Soften the chiles. Place the chiles in a heatproof bowl and cover with boiling water. You can usually de-seed and de-stem the chilies prior to putting them in the bowl. or the stems fall easily off after soaking. If there are seeds left in them, let them fall to the bottom of the bowl and just fish out the soaked chilie. No need to de-seed and de-vein the chilies if you don’t have time.  Let stand for 30 minutes.
  2. Toast the spices. While the chiles are soaking, toast the caraway, coriander, and cumin in a dry skillet over low-medium heat, occasionally shaking or stirring to prevent burning. When the spices are fragrant, remove them from the pan.
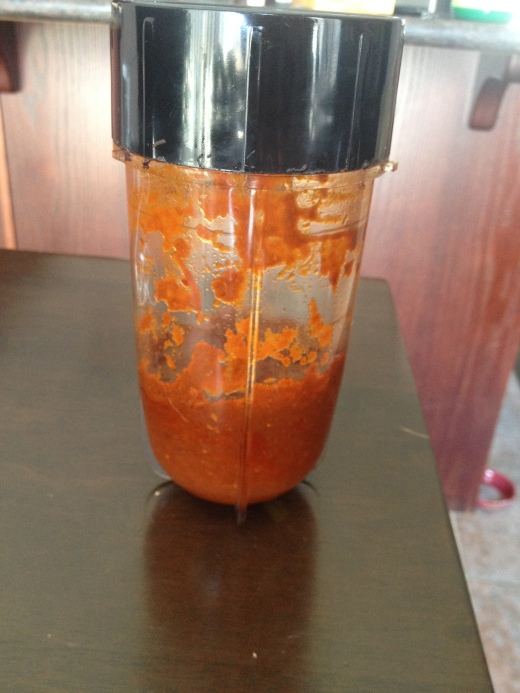
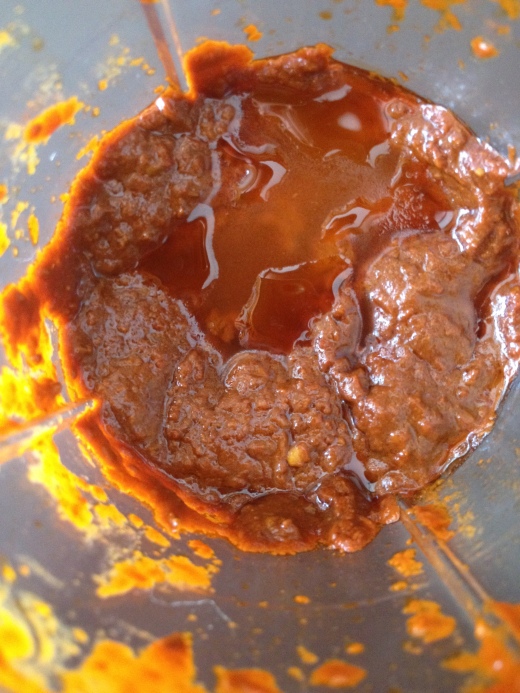
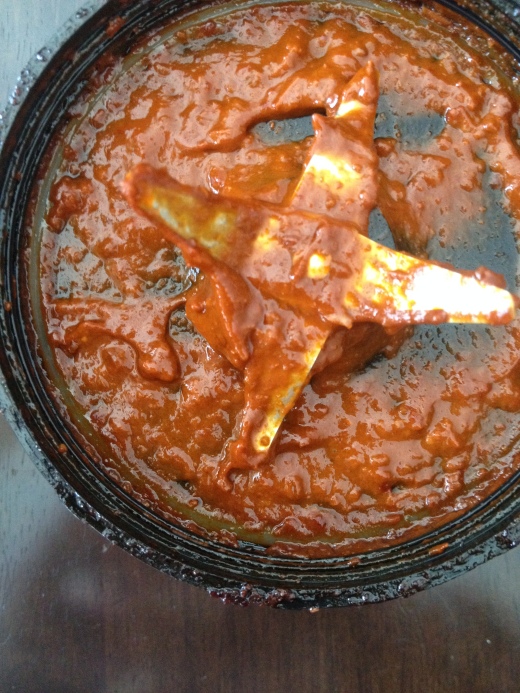
  3. Grind the spices. Grind the spices in a mortar and pestle, spice grinder, or coffee grinder. I used my magic bullet and it worked like a charm. My food processor was too big for such a small amount of spices.
  4. Drain the chiles, reserving the liquid for step 6.
  5. Combine the chiles with spices, garlic, and salt. Combine the chiles, ground spices, garlic, and salt in the bowl of a food processor. (You can also use a mortar and pestle or your handy magic bullet.)
  6. Make a paste.

    With the food processor running, slowly drizzle in the olive oil and process to form a smooth and thick paste. Scrape down the sides of the bowl occasionally. If a thinner paste is desired, blend in a little of the chile soaking liquid until the paste has reached your desired texture. I added 1 tbsp of the chile liquid with 1 tbsp of olive oil at a time into my magic bullet. It was a little slow to come together but I just had to keep shaking it around until it mixed.

  7. Taste and adjust seasonings. The flavor of the harissa will deepen over the next day or two, but you can taste it now and add more salt or other optional ingredients to your liking. The raw garlic will really come through when you smell it, and will soften up a bit over the next few days.
  8. Top with olive oil and store. Transfer the harissa to a jar and cover the surface with a thin layer of olive oil. Cover the jar and refrigerate for up to a month, adding a fresh layer of olive oil on the top each time you use the harissa.

Image

Image

Image

Linguine with Lemon-Dill Vodka Cream Sauce

It’s snowing like hell out… I’m lazy, sick with a cold, and want something easy but decadent for dinner.  Enter pasta and a salad.

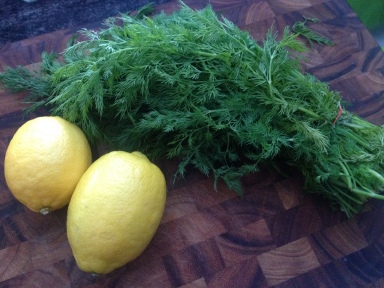
I am not in the mood for anything with tomato sauce (or fat-free apparently), so I’ve shifted my attention to a cream sauce. I have fresh dill and a couple of lemons in the fridge and a bag of frozen peas in the freezer. Hey, just because it’s a creamy dish doesn’t mean we can’t lighten it up a bit with some tasty peas! If you have asparagus laying around, that would work well too.

This sauce takes some time to reduce, so plan ahead. I like to eat dinner early so I don’t mind starting it at 4 and letting it simmer down until 5 or so. Dinner can be on the table by 5:30. Score.

IMG_3016

If you don’t have fresh dill you could use dry, but fresh is the way to go if you can. Know how you always end up with more dill than you need when you buy it? We usually use so little of that massive amount of fresh herb. Here’s my solution: chop it up, evenly distribute it into ice cube trays and pour olive oil over each ‘cube’. Freeze. Pop them out and store in a freezer zip-lock bag, in the freezer.  Next time you need dill olive oil combo, you’re ready to go. (Makes for easy salad dressings too!) Brilliant huh.

IMG_3018

IMG_3025

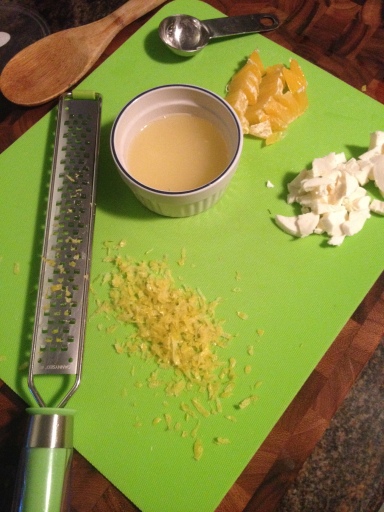
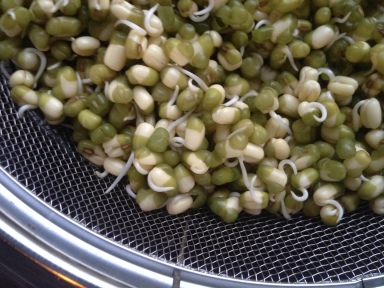
For my salad, I’m keeping it simple with a baby kale/spinach mix, cherry tomatoes, cucumber, sliced oranges, fresh buffalo mozzarella and some fresh mung bean sprouts I’ve been sprouting. They are crunchy and perfect to round out the salad. For the dressing, I’ll probably just drizzle some olive oil and finish with a squeeze of lemon and zest. Simple and perfect.

IMG_3024

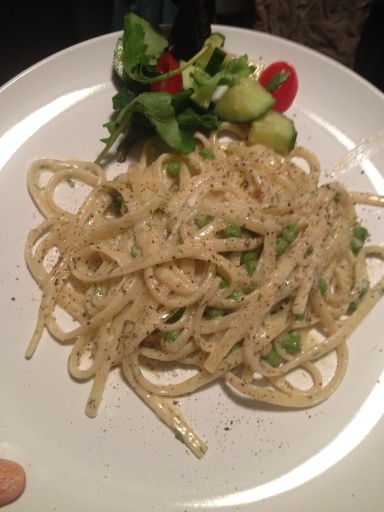
Enjoy this sauce with parpadelle, linguine or wagon-wheel pasta. Toss pasta in sauce and enjoy!

IMG_3028

Ingredients:

  • 1 tbsp olive oil
  • 2 garlic cloves, finely chopped
  • 1 medium onion, finely chopped
  • 3 cups organic vegetable or chicken stock
  • 1 cup heavy cream
  • 1/3 cup vodka
  • 1 tsp salt
  • 1 cup frozen sweet peas
  • ½ cup chopped fresh dill
  • 1 tbsp grated fresh lemon zest
  • 1-2 tbsp fresh lemon juice
  • 1 tbsp dijon mustard
  • ¼ tsp fresh ground pepper
  • Knob of butter
  • Grated parm cheese (optional)

Directions:

  1. Cook onion in oil in a heavy saucepan over moderate heat, stirring occasionally, until softened (but not browned), about 4 minutes. Add garlic and stir.
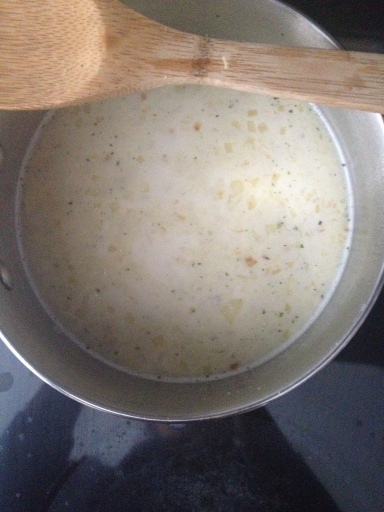
  2. Add broth, cream, vodka, and salt and boil over moderately high heat, stirring occasionally, until sauce is significantly reduced to 2 cups, 50-60 minutes.
  3. Remove from heat and stir in peas, dill, lemon zest and juice, dijon mustard, pepper and butter. Stir to combine.
  4. Pour over pasta and toss until pasta is completely coated. Sprinkle fresh parm cheese on top (optional).

30 minute Playlist to Get You Motivated

In my morning readings today I came across this article from the Huffington Post titled:

If This Playlist Can Help The Seahawks Win A Super Bowl, It Will Surely Get You Through 30 Minutes On The Treadmill

Who doesn’t want to feel like they’ve won the Superbowl after a workout?

Like the article says, the right music can get you motivated, and motivated BIG. I like this track list because it’s loaded with heavy hip hop/rap… who doesn’t love a little Luda and Tupac in their mash-up?  Oh! There’s a song you’ll remember from the movie Fast & Furious too.

This mix is a bit slow for a run (for me), but if you’re into lifting, I think this could definitely do the trick. Crank it up and pump it out baby. You’ve got this, ain’t nobody gonna hold YOU back 🙂

Cheers friends, have a great day!

(Image courtesy of http://crossfitinvoke.com)

Very Berry Spelt Multi-Grain Muffins

Well after that sugar rush of caramel corn last night (I had a handful then had enough), I am craving muffins today.  Multi-grain berry muffins.  I am not a muffin girl and when I do eat a muffin, it’s never the fruit kind but for some reason today, I want a wholesome soft, fluffy fruit muffin. I’m looking forward to having this in the morning, cracked open, drizzled with yogurt and sprinkled with nuts and chia seeds. Perfect breakfast? I think so!

I enjoy the flavour of spelt flour along with the hard wheat red bran in this recipe. In half the batch I threw in some cacao nibs just ‘cause.  This recipe will be sure to satisfy your whole grain and sweet tooth all at the same time!

IMG_2999[1]

IMG_3003[1]IMG_3002[1]IMG_3006[1]IMG_3008[1]IMG_3011[1]IMG_3013[1]

Ingredients:

2 c           spelt flour

½ c          yellow corn meal

½ c          hard wheat red bran

1/3 c      lightly ground flax seeds

¼ c          chopped walnuts

2 tbsp    sesame seeds

1 ½ tsp  baking powder

1 tsp      baking soda

1 tsp      ground cinnamon

½ tsp     pink Himalayan sea salt

Small handful of chocolate chips (optional)

2              large eggs

1 c           orange juice

½ c          organic coconut oil

½-¾ c     agave

1 tsp      vanilla extract

1 ½ c      mixed frozen berries, thawed

1 tbsp    rolled oats

1. Preheat the oven to 325 degrees F. Line a medium-sized muffin tin with your favourite cupcake liners.

2. In a large bowl, combine the spelt flour, cornmeal, oat bran, flax seeds, chopped walnuts, sesame seeds, baking powder, baking soda, cinnamon, and salt.

3. In a smaller bowl, whisk the eggs lightly. To the eggs, add the orange juice, coconut oil, agave and vanilla, whisking until they are well combined. Pour the wet into the dry and whisk just until blended. Mix in the berries (and the juice they produced when defrosting) and cacao nibs (if using).

4. Spoon the batter into the prepared muffin tins, filling the muffin cups almost to the top. Top each muffin with a sprinkling of the oats. How pretty!

5. Bake for 18 to 25 minutes, or until the muffins are deep golden brown and spring back lightly when pressed gently in the center and a toothpick comes out clean.

Enjoy my friends!

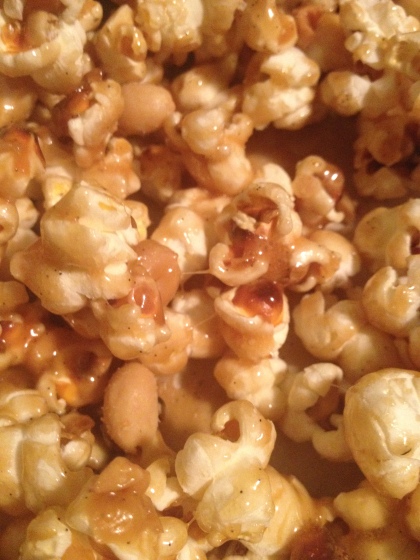
Salted Vanilla Bean Caramel Corn

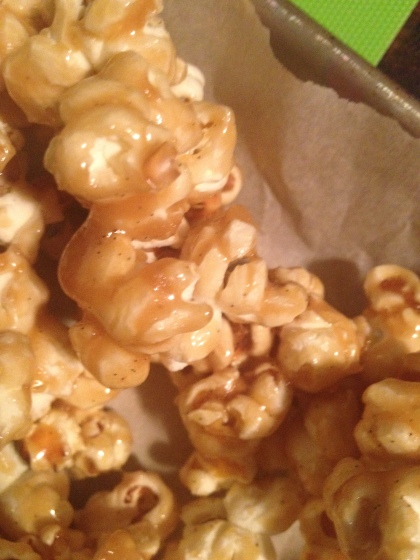
I make popcorn on a regular basis, it’s one of my favourite snacks, but lately I want sweet caramel corn. Instead of the plain-Jane caramel corn I wanted to mix it up a bit, so I’ve opted to add salt, peanuts and vanilla bean. Sounds like heaven, right? It is.

Oh yeah, this is happening on a Monday night.

I didn’t want to use corn syrup for my sweet treat, so I knew I had to work with brown sugar and butter. Hey – that’s not a bad thing. I did some research and came up with the simplest way to make it. No corn syrup, no baking… just sauce and let cool caramel corn.

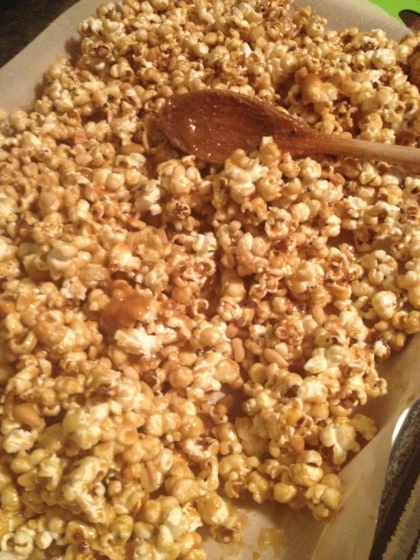
Here’s what you do my friends… make yourself some focaccia, then for dessert, make this. Park your ass on the couch and cuddle up. This makes for one helluva meal 🙂 (sorry for the awful pics, the lighting was terrible in my kitchen tonight!)

  • 1 cup organic popcorn
  • 4 Tbsp butter
  • 1 1/2 c light or dark brown sugar
  • 1/3 c water
  • 1/2 tsp baking soda
  • 1 vanilla bean
  • 2-4 tsp coarse sea salt
  1. Line a large baking sheet with parchment paper.
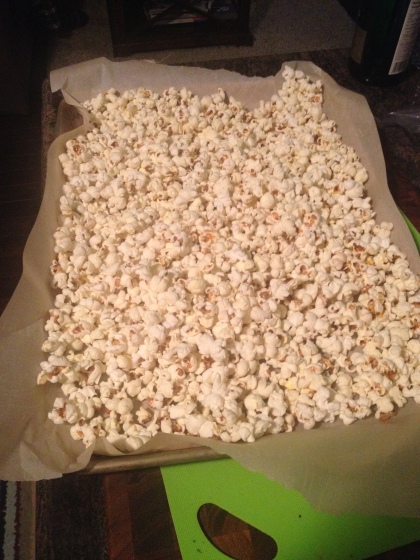
  2. Pop popcorn as per usual then spread it out on the lined baking sheet.

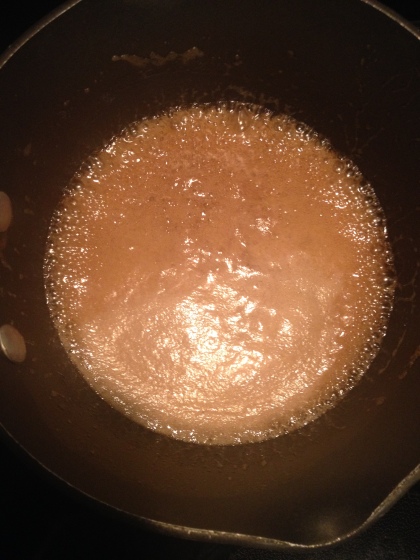
IMG_2986Melt butter in a pan.  Add brown sugar and stir until mixed, then add the water. 

IMG_2987Stir until boiling stage and cook for 5-10 minutes until mixture hits soft-ball stage (put a few drops in a glass of icy water until it can form a soft ball).

IMG_2992

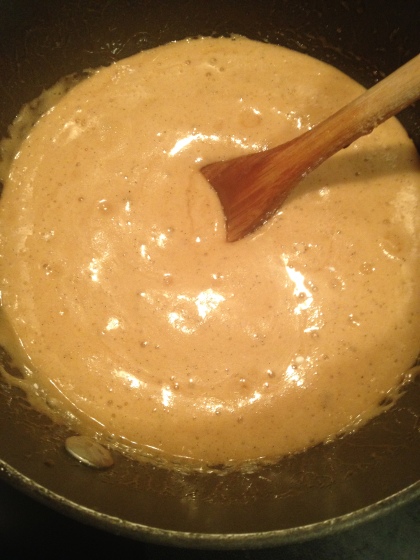
Remove from heat and add vanilla and soda, continue to stir while it goes puffy.
Add peanuts and mix well.

IMG_2993

Drizzle over popcorn and lightly stir.
Salt with coarse sea salt.
Allow to cool (if you can).

Eat.

IMG_2997

Caramel Corn

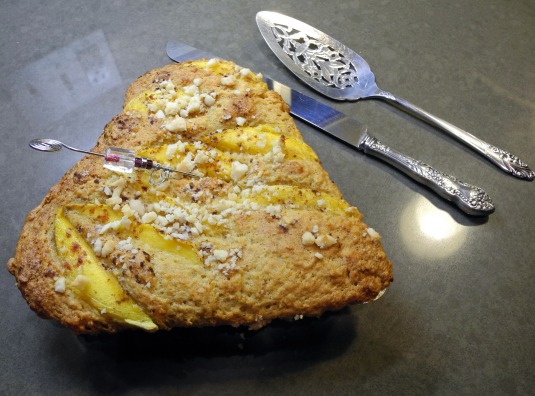
Macadamia treats us to her tea cake

Cook Up a Story

Macadamia nut tea cake

A macadamia nut tea cake for your valentine…

Last week I posted about our Miss Hawaii, in particular, how macadamia nuts with their low omega-6 offer a treasure chest of healthy, stable  fats for your dining pleasure.

Now, as promised, here is a recipe to try, featuring macadamia nuts and their oil.

View original post 584 more words