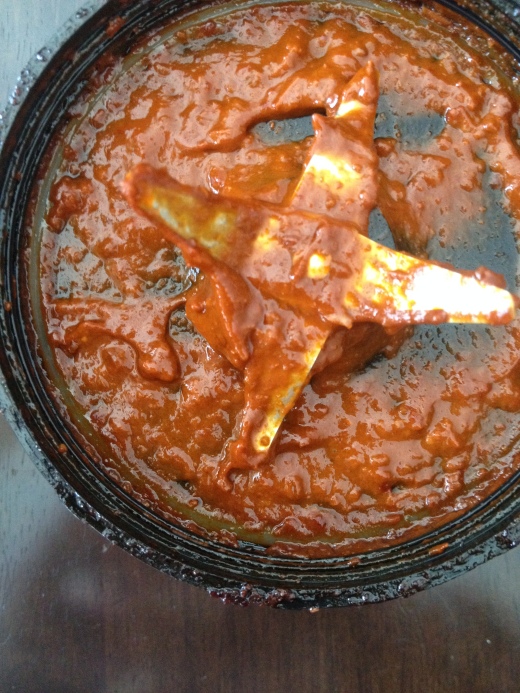
Ready to spice up your kitchen? Move over boring salsa and ketchup! This red raven condiment is sure to make your taste buds pop. I usually make a batch and keep it in the fridge, although it never lasts longer than a few weeks. I add it to my homemade hummus, roasted veggies, chicken, pork, rice dishes and everything in between.
This lovely Tunisan chili paste is so versatile. I came across a recipe about a year ago that called for it, and knowing that it wasn’t at my local grocery store, I knew I wanted to learn how to make it. Each paste will be different, some are made with roasted red peppers (like the one I made last year), some with tomatoes, some with chilies and some with a combo of all three. So you will get something a little different with each one you buy. Today I decided to make one with JUST chilies. We are having friends over for dinner tonight and I am making baked chicken with harissa chickpeas and leeks. I’ll use 1/4c of the harissa in the recipe, which will give it a little bit of a kick, but not blow off your lips hot :).
Ingredients
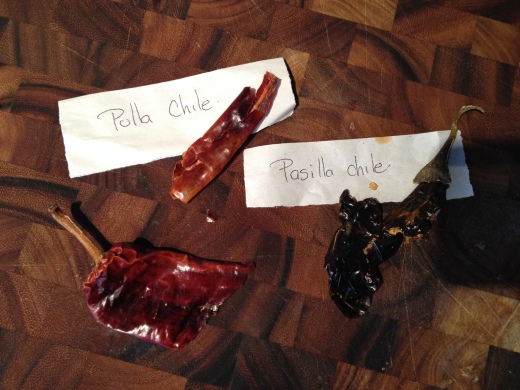
4 ounces dried chiles of your choice (see Recipe Notes)
1 teaspoon caraway seeds
1 teaspoon coriander seeds
1 teaspoon cumin seeds
3 to 4 garlic cloves, peeled
1 teaspoon kosher salt, or to taste
2 tablespoons extra virgin olive oil, plus more for storing
Optional additions: fresh lemon juice, preserved lemon, fresh or dried mint, fresh cilantro, sun-dried tomatoes, tomato paste, cayenne, paprika
Equipment
Heatproof bowl for soaking chiles
Skillet for toasting spices
Spice grinder, coffee grinder, or mortar and pestle for grinding spices
Food processor or mortar and pestle for mixing paste
Airtight jar for storage
Instructions
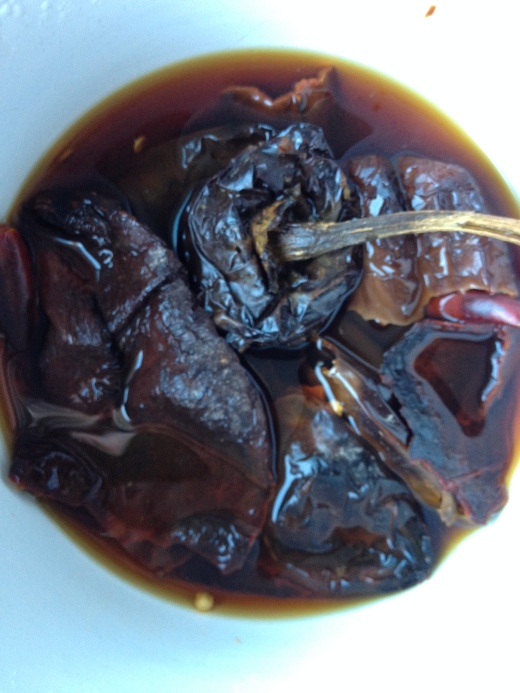
- Soften the chiles. Place the chiles in a heatproof bowl and cover with boiling water. You can usually de-seed and de-stem the chilies prior to putting them in the bowl. or the stems fall easily off after soaking. If there are seeds left in them, let them fall to the bottom of the bowl and just fish out the soaked chilie. No need to de-seed and de-vein the chilies if you don’t have time. Let stand for 30 minutes.
- Toast the spices. While the chiles are soaking, toast the caraway, coriander, and cumin in a dry skillet over low-medium heat, occasionally shaking or stirring to prevent burning. When the spices are fragrant, remove them from the pan.
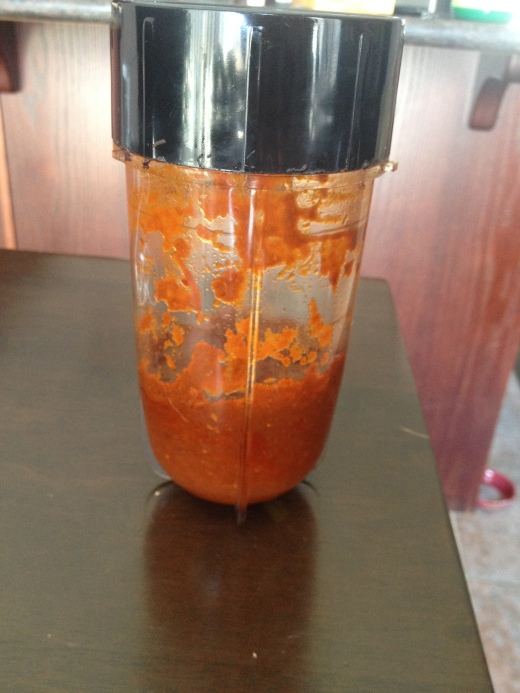
- Grind the spices. Grind the spices in a mortar and pestle, spice grinder, or coffee grinder. I used my magic bullet and it worked like a charm. My food processor was too big for such a small amount of spices.
- Drain the chiles, reserving the liquid for step 6.
- Combine the chiles with spices, garlic, and salt. Combine the chiles, ground spices, garlic, and salt in the bowl of a food processor. (You can also use a mortar and pestle or your handy magic bullet.)
-
Make a paste.
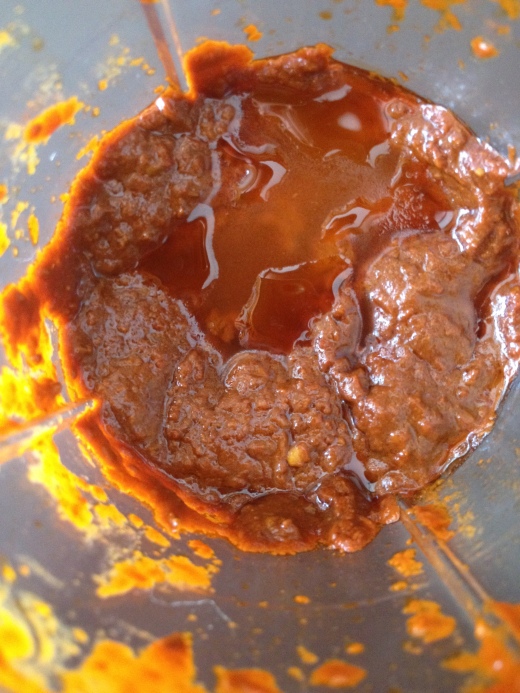
With the food processor running, slowly drizzle in the olive oil and process to form a smooth and thick paste. Scrape down the sides of the bowl occasionally. If a thinner paste is desired, blend in a little of the chile soaking liquid until the paste has reached your desired texture. I added 1 tbsp of the chile liquid with 1 tbsp of olive oil at a time into my magic bullet. It was a little slow to come together but I just had to keep shaking it around until it mixed.
- Taste and adjust seasonings. The flavor of the harissa will deepen over the next day or two, but you can taste it now and add more salt or other optional ingredients to your liking. The raw garlic will really come through when you smell it, and will soften up a bit over the next few days.
- Top with olive oil and store. Transfer the harissa to a jar and cover the surface with a thin layer of olive oil. Cover the jar and refrigerate for up to a month, adding a fresh layer of olive oil on the top each time you use the harissa.
