Linguine with Lemon-Dill Vodka Cream Sauce

It’s snowing like hell out… I’m lazy, sick with a cold, and want something easy but decadent for dinner.  Enter pasta and a salad.

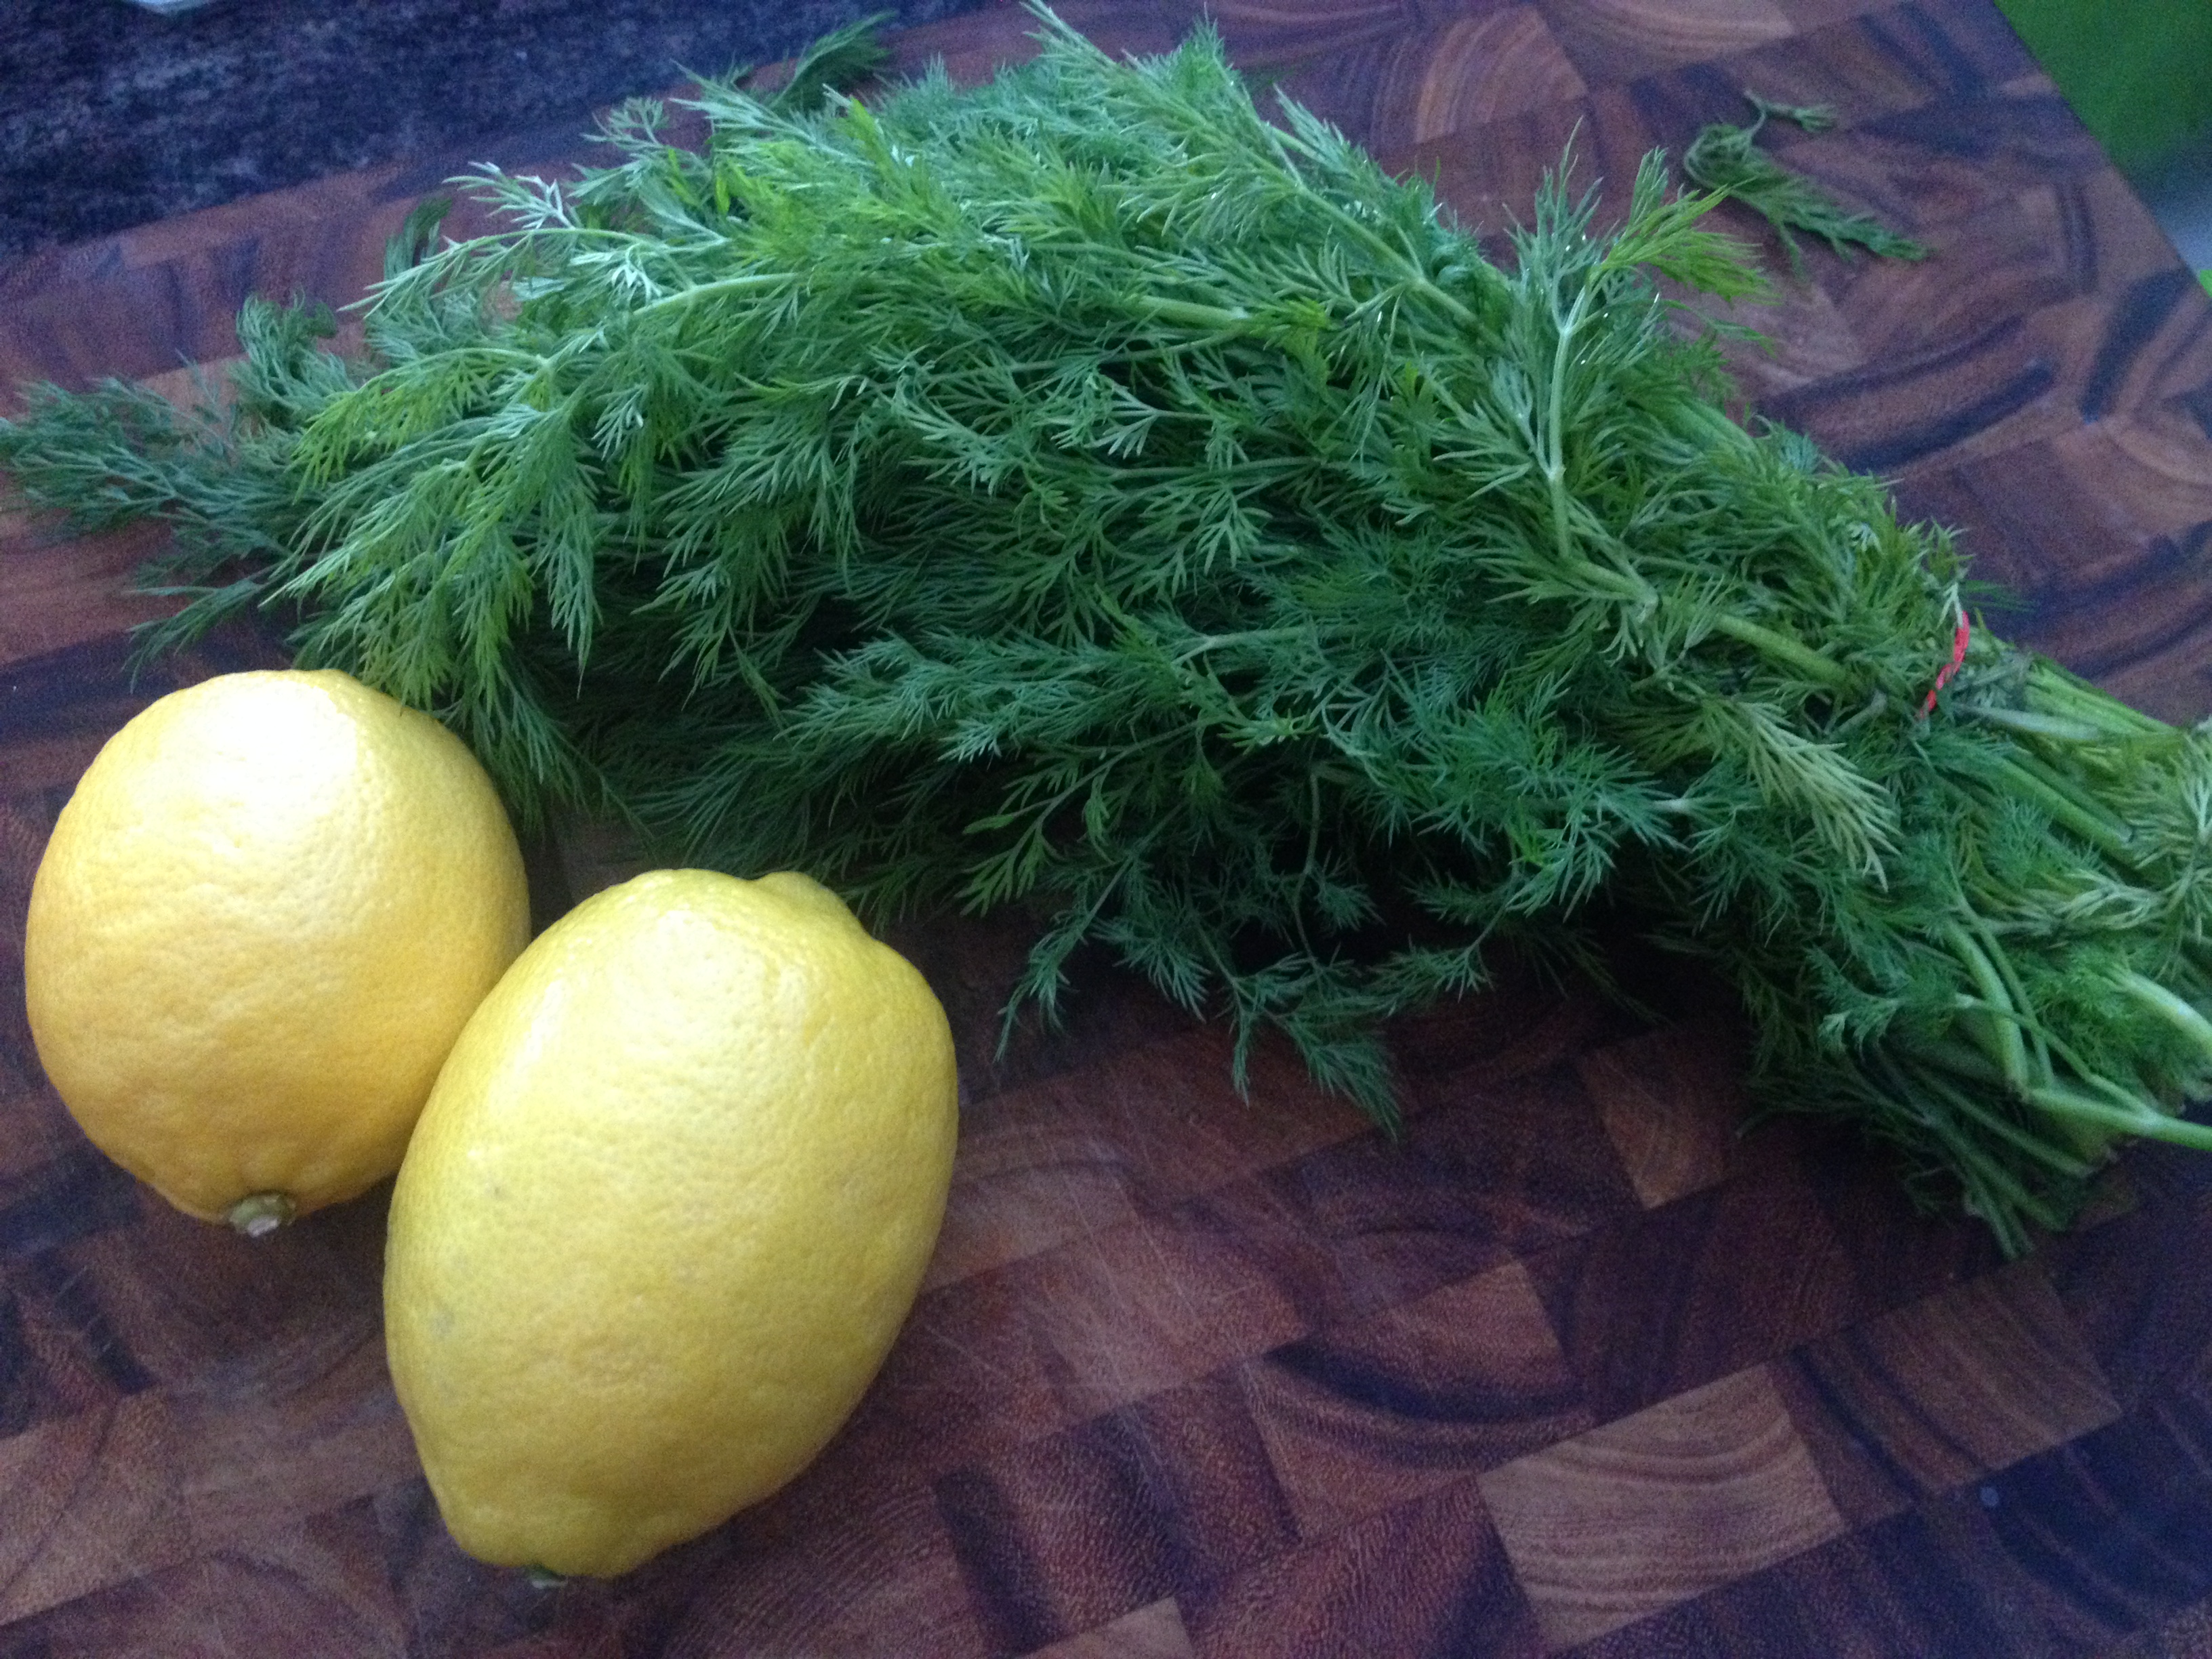
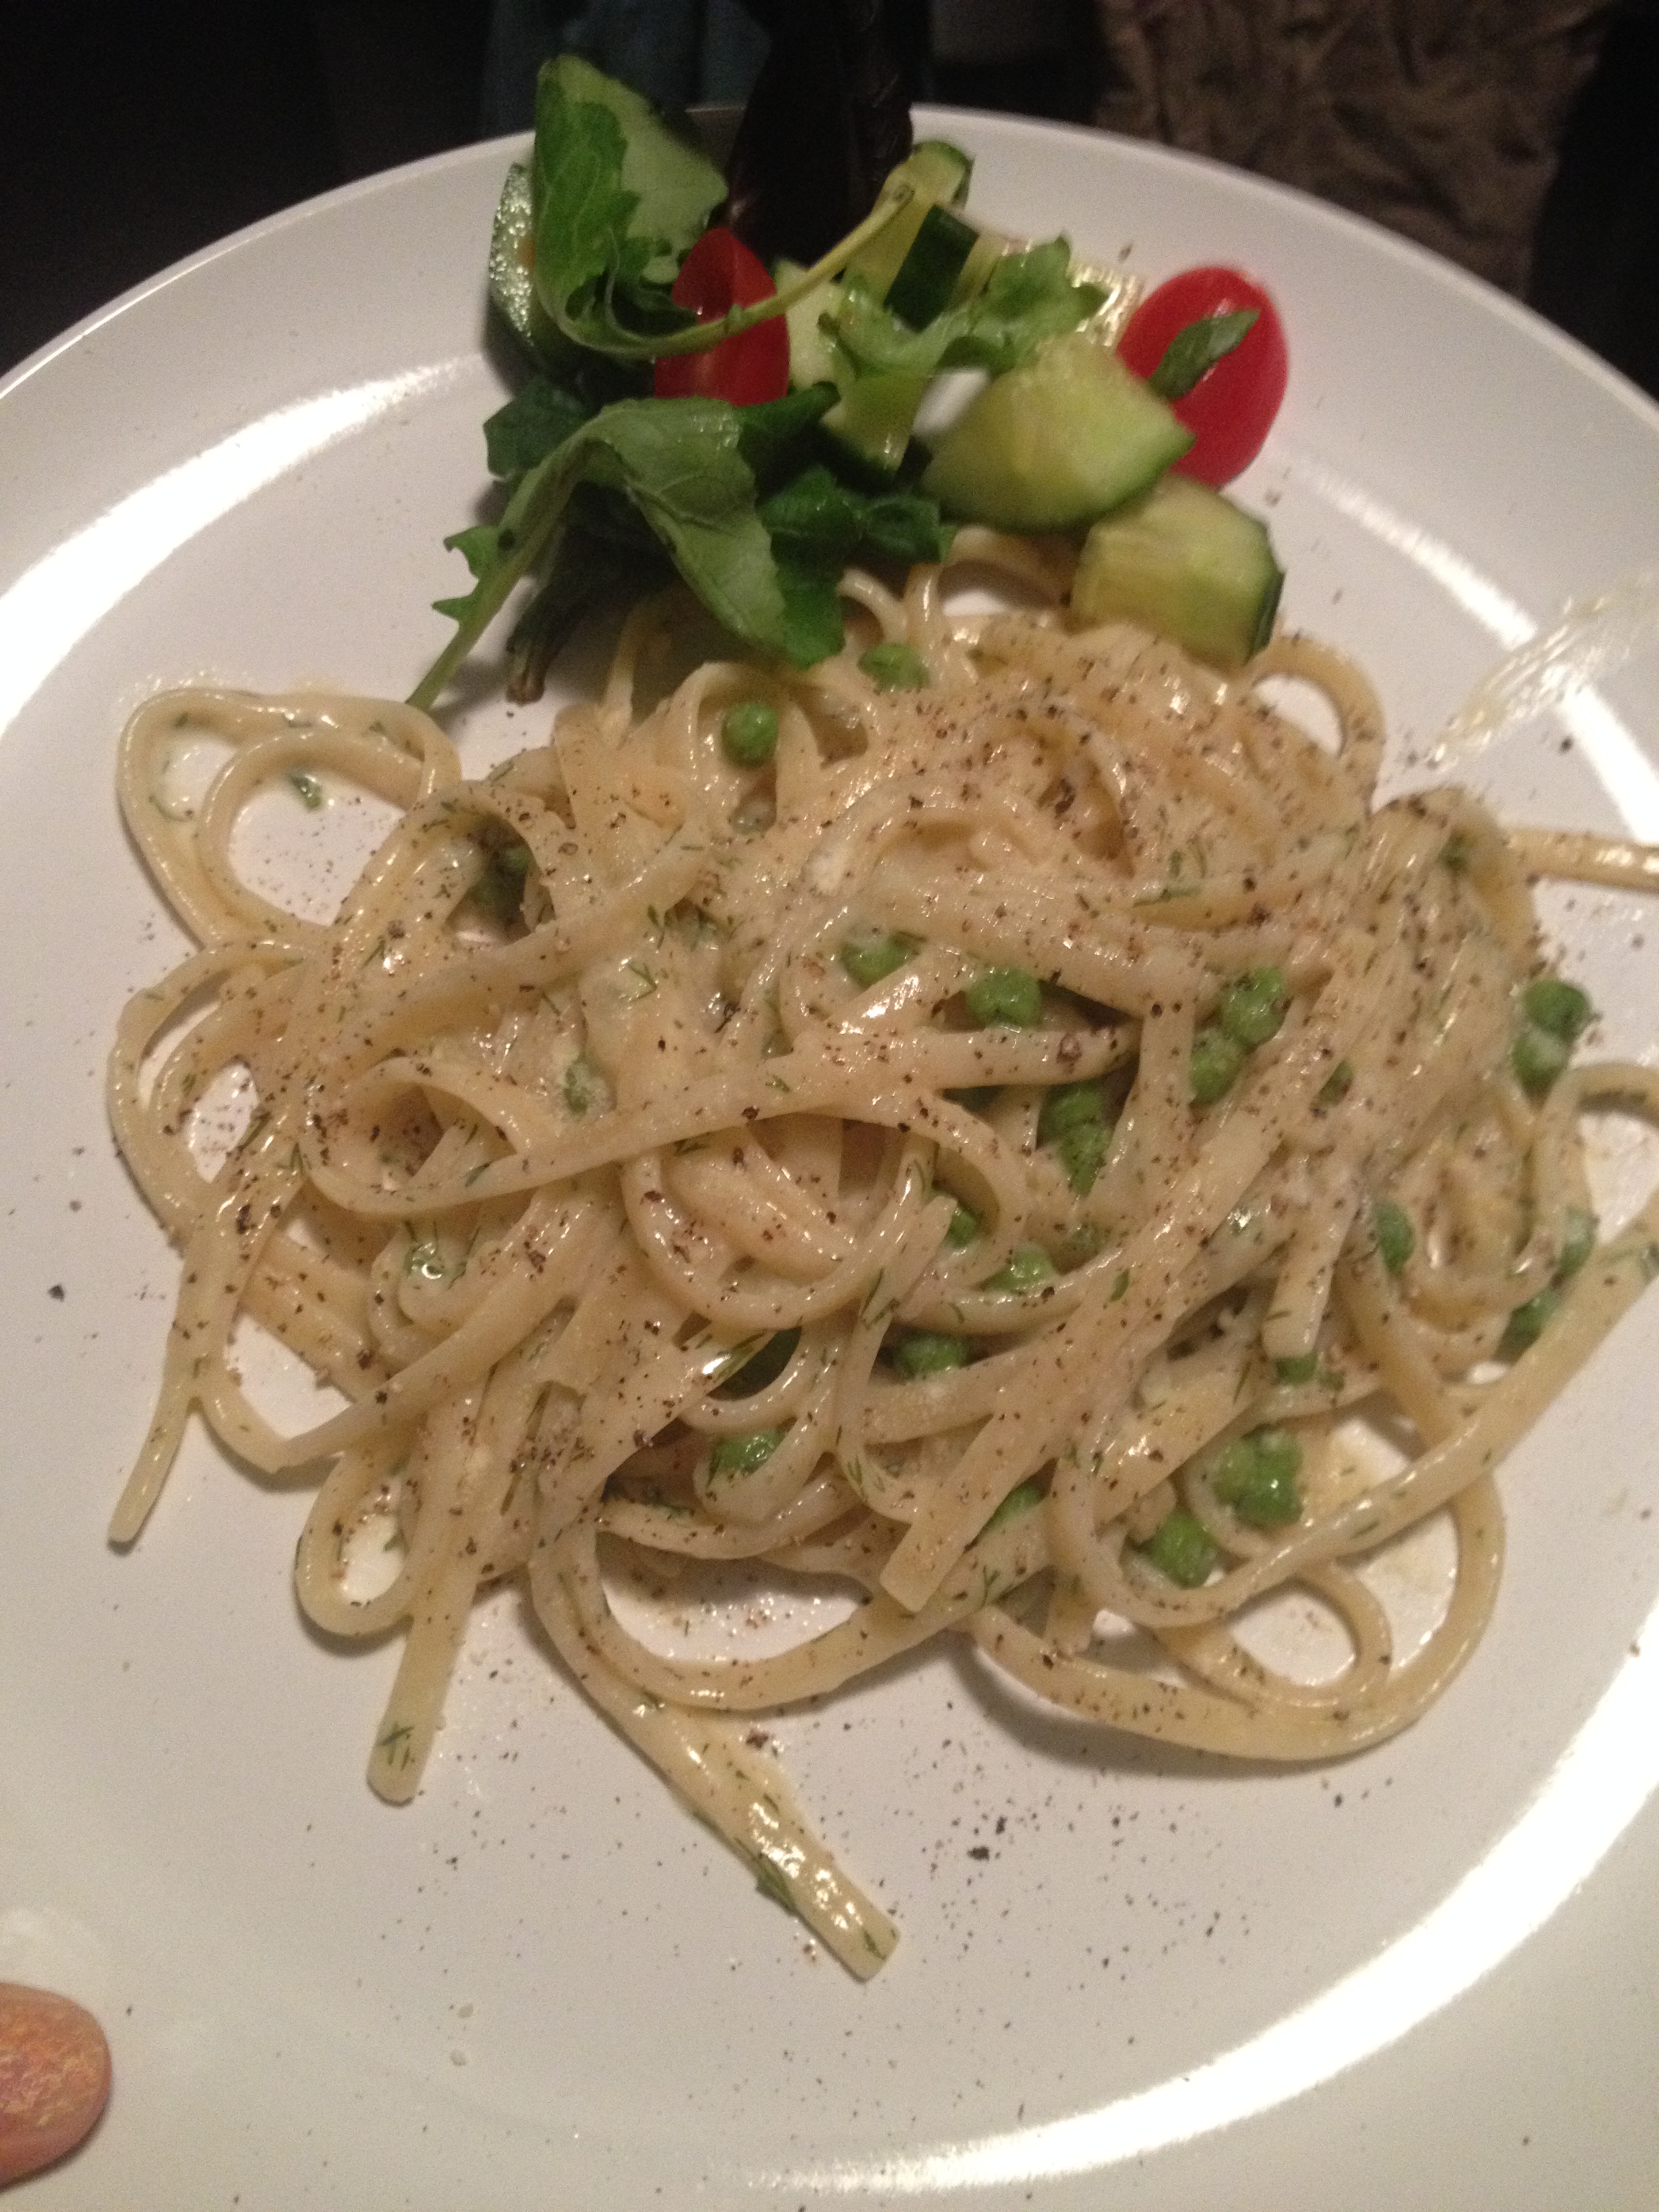
I am not in the mood for anything with tomato sauce (or fat-free apparently), so I’ve shifted my attention to a cream sauce. I have fresh dill and a couple of lemons in the fridge and a bag of frozen peas in the freezer. Hey, just because it’s a creamy dish doesn’t mean we can’t lighten it up a bit with some tasty peas! If you have asparagus laying around, that would work well too.

This sauce takes some time to reduce, so plan ahead. I like to eat dinner early so I don’t mind starting it at 4 and letting it simmer down until 5 or so. Dinner can be on the table by 5:30. Score.

IMG_3016

If you don’t have fresh dill you could use dry, but fresh is the way to go if you can. Know how you always end up with more dill than you need when you buy it? We usually use so little of that massive amount of fresh herb. Here’s my solution: chop it up, evenly distribute it into ice cube trays and pour olive oil over each ‘cube’. Freeze. Pop them out and store in a freezer zip-lock bag, in the freezer.  Next time you need dill olive oil combo, you’re ready to go. (Makes for easy salad dressings too!) Brilliant huh.

IMG_3018

IMG_3025

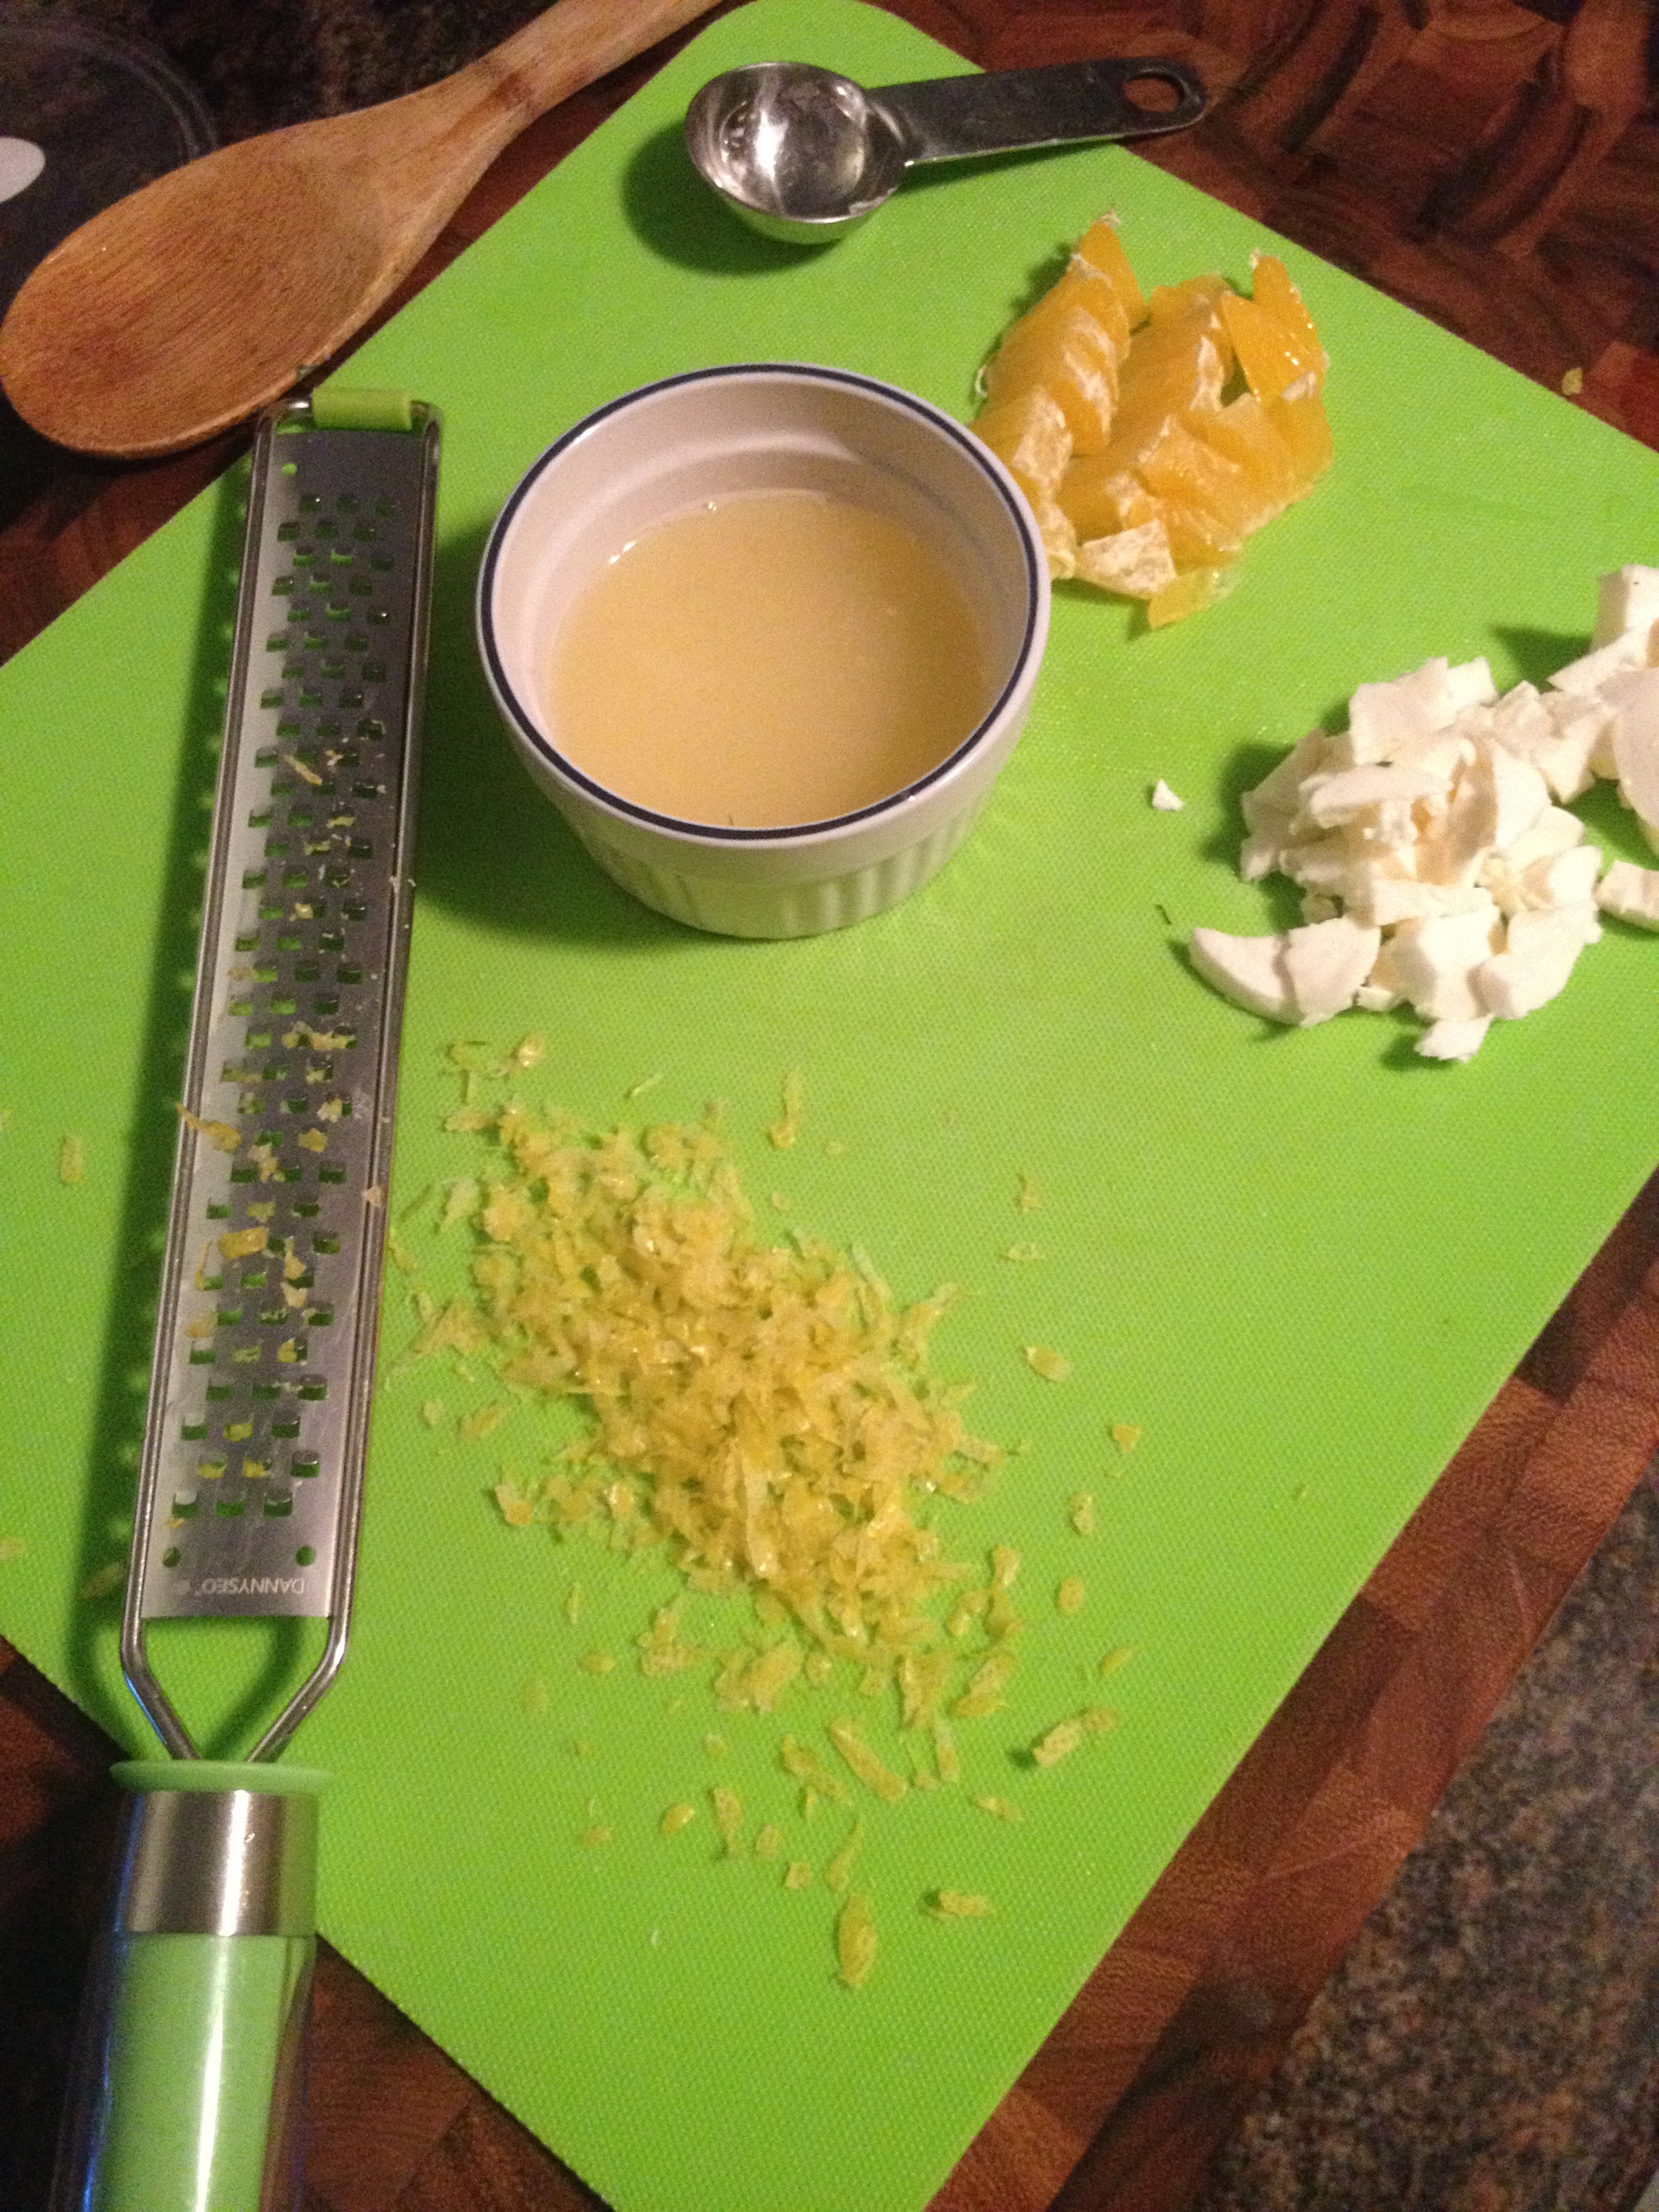
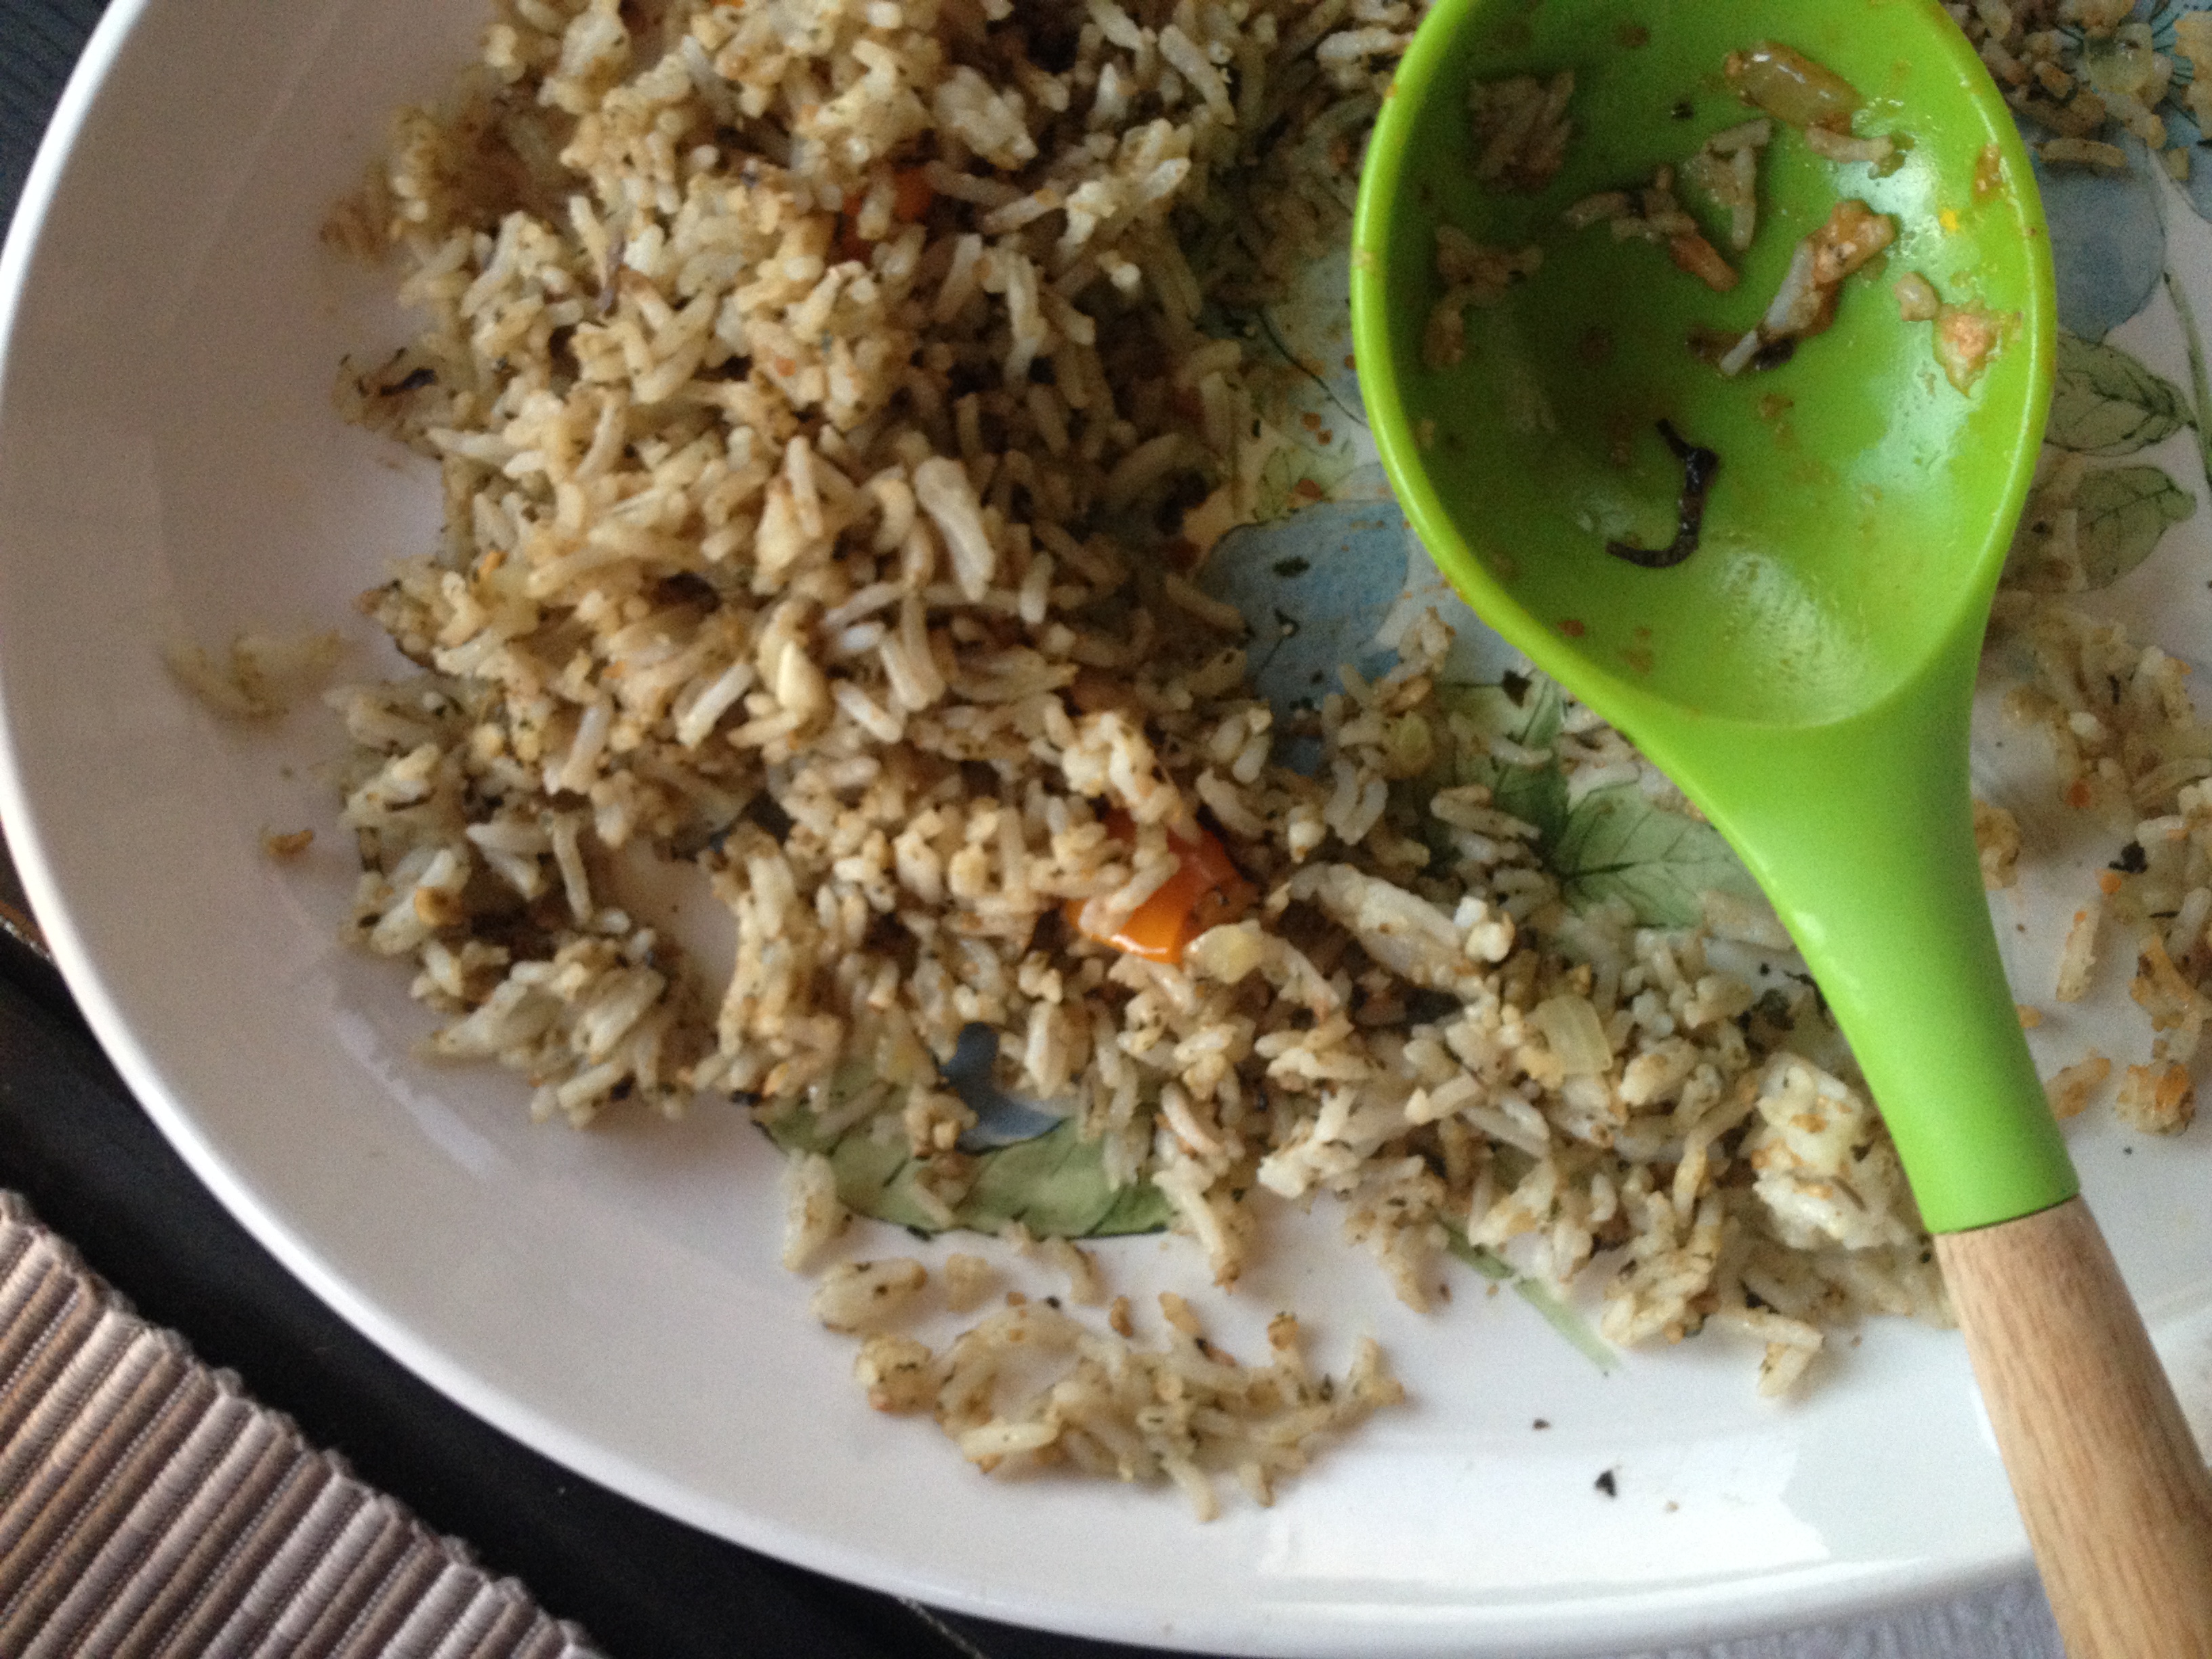
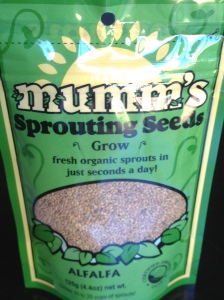
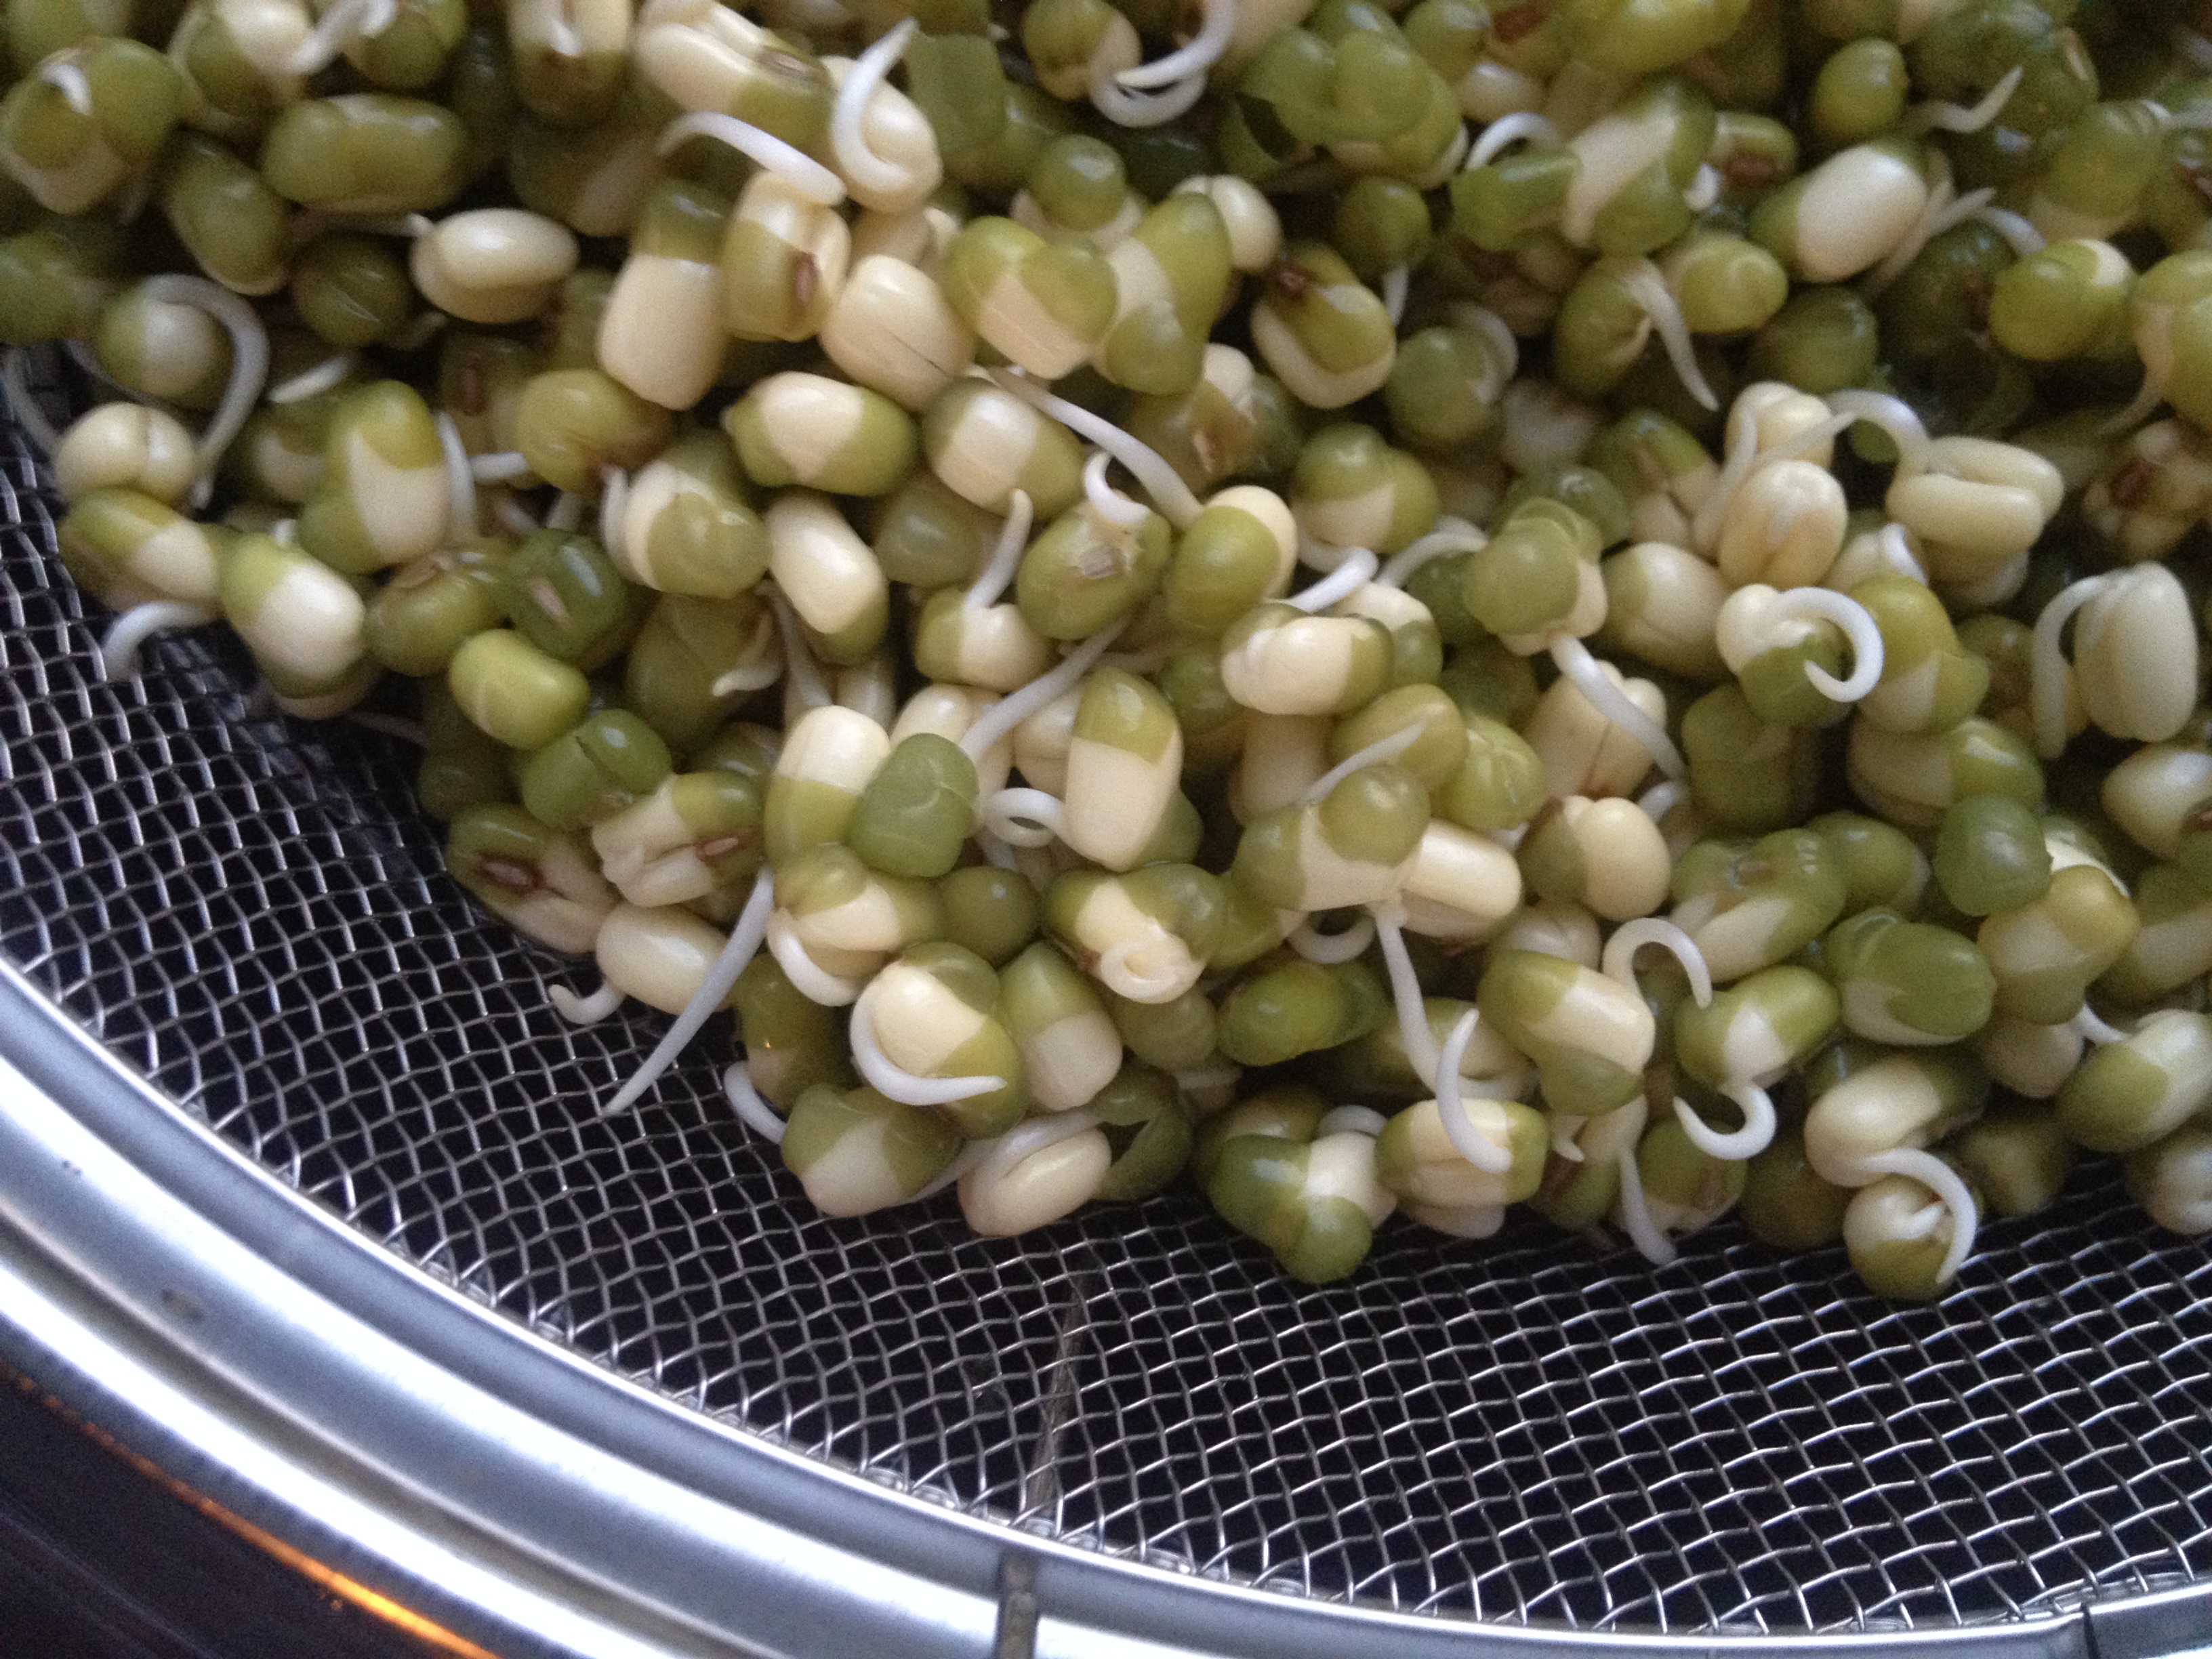
For my salad, I’m keeping it simple with a baby kale/spinach mix, cherry tomatoes, cucumber, sliced oranges, fresh buffalo mozzarella and some fresh mung bean sprouts I’ve been sprouting. They are crunchy and perfect to round out the salad. For the dressing, I’ll probably just drizzle some olive oil and finish with a squeeze of lemon and zest. Simple and perfect.

IMG_3024

Enjoy this sauce with parpadelle, linguine or wagon-wheel pasta. Toss pasta in sauce and enjoy!

IMG_3028

Ingredients:

  • 1 tbsp olive oil
  • 2 garlic cloves, finely chopped
  • 1 medium onion, finely chopped
  • 3 cups organic vegetable or chicken stock
  • 1 cup heavy cream
  • 1/3 cup vodka
  • 1 tsp salt
  • 1 cup frozen sweet peas
  • ½ cup chopped fresh dill
  • 1 tbsp grated fresh lemon zest
  • 1-2 tbsp fresh lemon juice
  • 1 tbsp dijon mustard
  • ¼ tsp fresh ground pepper
  • Knob of butter
  • Grated parm cheese (optional)

Directions:

  1. Cook onion in oil in a heavy saucepan over moderate heat, stirring occasionally, until softened (but not browned), about 4 minutes. Add garlic and stir.
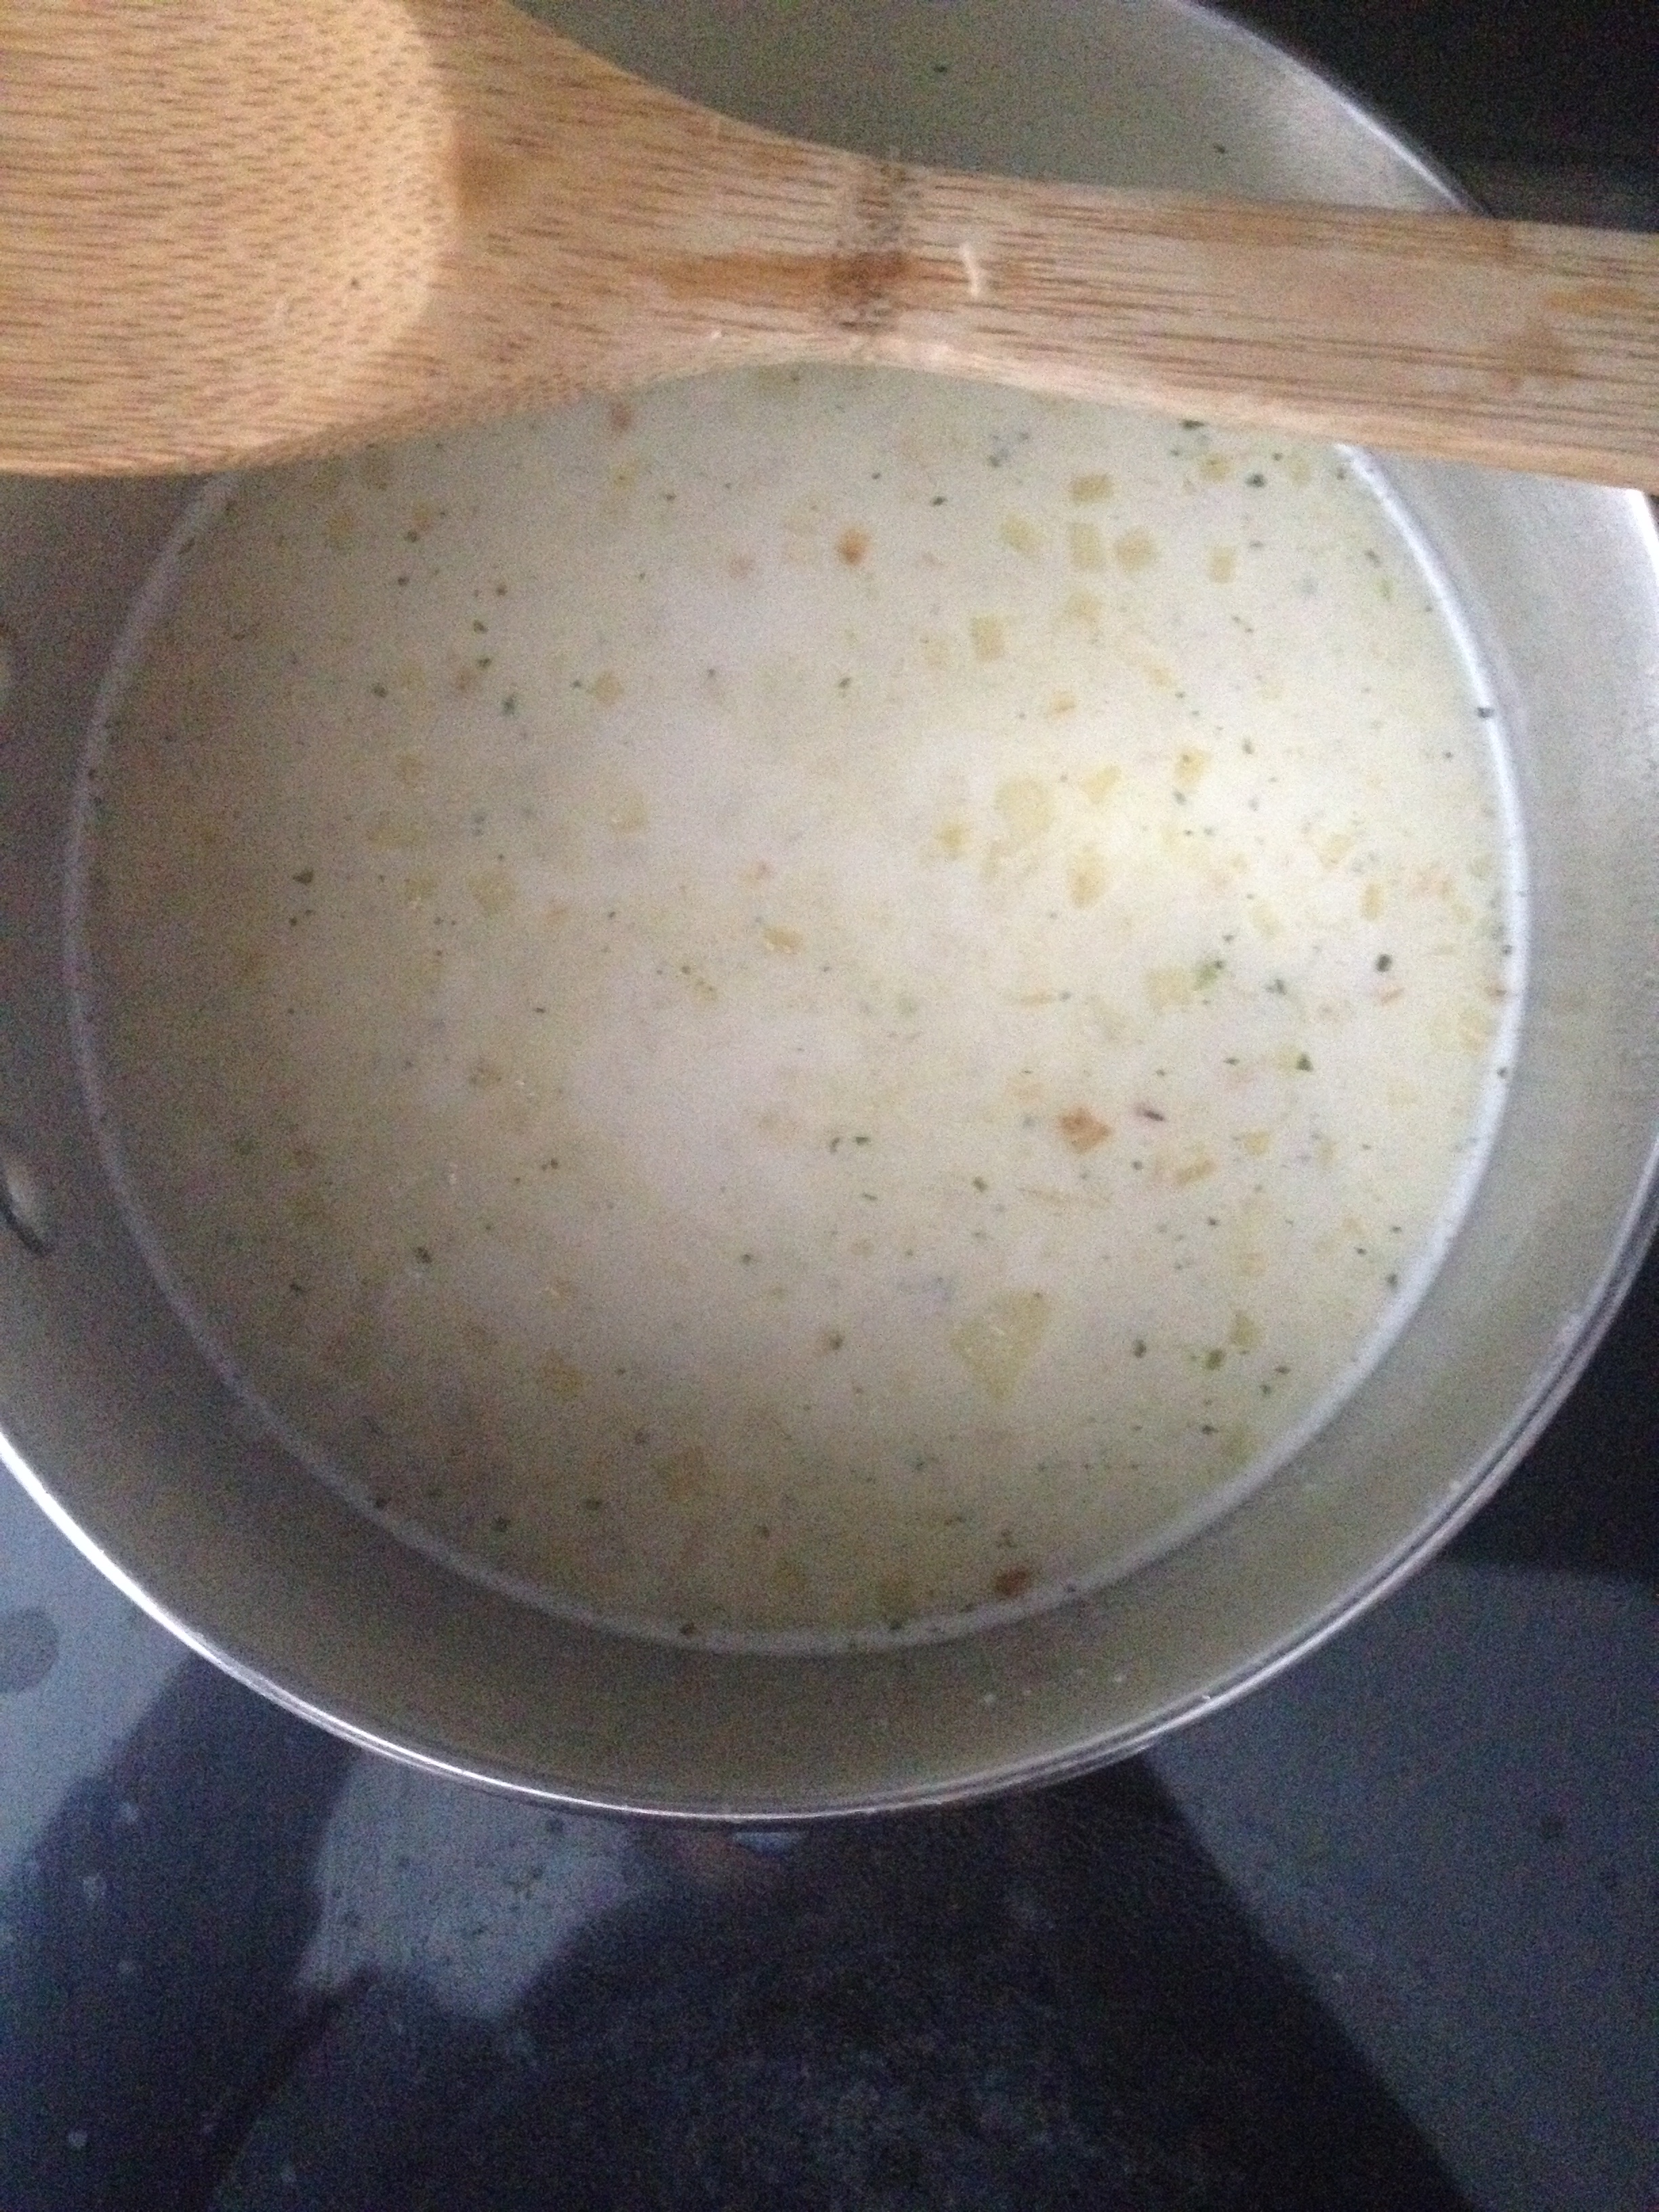
  2. Add broth, cream, vodka, and salt and boil over moderately high heat, stirring occasionally, until sauce is significantly reduced to 2 cups, 50-60 minutes.
  3. Remove from heat and stir in peas, dill, lemon zest and juice, dijon mustard, pepper and butter. Stir to combine.
  4. Pour over pasta and toss until pasta is completely coated. Sprinkle fresh parm cheese on top (optional).

Stuffed peppers with nut-free purple pesto rice and baked eggs

Last week I experimented with a fun dish: stuffed peppers.  I had a vision for this dish, and it came together beautifully.

I was able to incorporate the awesome nut-free purple pesto I made last week, some left-over pulled pork that was in the freezer and the last of the home-made tomato sauce. The resulting dish was an awesome combination, and everyone cleaned their plates at dinner. There’s nothing more satisfying as a cook, to see your guests almost lick the plate, right?

You can adapt this recipe to be vegan, vegetarian or full on meat-lover. Whatever you choose, I promise you’ll love it to bits.

Ingredients

  • 4 peppers cut in half (red, orange, yellow or a combo of all three!)
  • 1.5 cups basmati rice, cooked
  • 2 tbsp of nut-free purple pesto, or whatever pesto you have on hand
  • 2.5 cups homemade tomato sauce, or canned tomato sauce, heated
  • 4-5 eggs (depending on how many you’re feeding that night)
  • 1 cup of chopped/shredded cooked meat (your choice or none at all)
  • 1 cup Shredded mozzarella cheese
  • 2 green onions or chives, finely chopped
  • 6-10 leaves of finely chopped basil
  • Salt and pepper to taste

Directions:

  1. Preheat oven to 375 degrees.
  2. Cut peppers in half length-wise, from stem to bottom. Remove seeds and white parts, wash and dry.
  3. Place cut peppers on a plate and microwave until cooked. About 5 mins depending on how many you have). You want them to be soft, but not mushy. They will continue to cook when stuffed and baked in the oven.
  4. In a medium bowl, combine basmati rice and pesto. Mix until combined. Taste for seasoning, adjust as needed (add salt, pepper or even some parmesan cheese).
  5. Place halved peppers in the bottom of a deep baking dish.
  6. Take 1-2 tbsp of rice and layer on the bottom of each half of pepper.
  7. Take cooked meat and make another layer on top of the rice on each half of each pepper.
  8. Crack one egg into each half of each pepper.
  9. Cover and bake stuffed peppers in oven for 10-12 minutes until whites of eggs are cooked and the yolk is semi-firm.
  10. Remove from oven and finish eggs with shredded mozzarella cheese, chopped basil and chopped green onions,

To plate: pour heated tomato sauce on a plate. If you have leftover rice, add some on top of the tomato sauce.

rice

tomato sauce and rice

Place the stuffed peppers on top of the tomato sauce/rice.

Plated

cut open

Finish with cracked black pepper.

Cabbage, Sausage and Beet Green Supper

What’s for dinner?

It’s the type of meal I wouldn’t normally make in the summer. To my defense, we have the air conditioning on and I am a little oblivious to the heat outside.

That aside, we visited the local farmers market on Saturday and picked up a bunch of wicked veggies so I knew they had to be used really quickly.  While I was staring at the freezer, I remembered last week a friend gave us a pack of sausages (fresh herb and garlic) from a local farm. I pulled that out of the freezer and stared at it all on the counter. Huh. What now.

I had half a cabbage that I was dying to use. Got it. Cabbage and sausage dinner. Something easy, one pot-ish. Yes. That’s what’s for dinner.

I have been juicing in the morning and bought a whackload of beets at the market to do so. I remembered that I had all the beet greens left. Awesome! Can you eat those? Why yes you can! I remembered someone telling me they were great in a salad or lightly sautéed, like spinach or chard. So I chopped it all up, along with the other veggies and came up with our meal. I’ll be serving it alongside garlic mash. I’ve been on a mash kick lately. Don’t you just LOVE garlic mash? *drool* Tonight’s dinner should help curb the craving for another week.

You’ll be surprised at how simple and flavourful this dish is. I added garlic, pepper and fresh sage for seasoning. Oh, and a little salt. There’s no stock in this dish so you don’t have to be overwhelmed with salt or liquid. Resist the urge to throw in a bunch of herbs and seasoning, this dish really doesn’t need it. If you wanted to reduce the carbs, you could omit the potato and replace with cauliflower. Also I didn’t cook this until everything was mush. I like to maintain a bit of crunch in the veggies, plus I feel it drains all the nutrients from them if you overcook. Let’s get wholesome up in here. Up in here, up in here.

Ingredients


  • 1-2 packages (4 in each) of your favourite sausage. Cut into 3/4-inch slices
  • 1 large onion, cut into big chunks
  • 1 medium head cabbage, chopped
  • 10-15 beet greens, roughly chopped
  • 2 garlic cloves, roughly chopped
  • 6 fresh sage leaves, finely chopped
  • 1 pound carrots, cut into 1/2-inch slices
  • 1/2 cup water
  • Freshly ground pepper
  • Salt to taste
  • Optional: 5 medium potatoes, cut into 3/4-inch cubes

Directions:

  • In a Dutch oven or big soup pot, cook sausage and onion over medium heat until the sausage is lightly browned and onion and garlic are tender.
  • Add the cabbage and water. Cover and cook on low for 10 minutes. Stir in the carrots, beet greens and potatoes (if using).
  • Cover and cook for 20 minutes or until the vegetables are tender to your liking.
  • Serve with a salad, or garlic mash if you don’t put the potatoes in.

Sweet Potato Breakfast Pancakes (cooked in coconut oil)

I don’t eat enough sweet potatoes. Do you?

I love ’em, but I definitely don’t eat enough of them. I picked one up at the grocery store the other night with the idea of having half as a side to dinner. I didn’t feel like taking the time to bake it, so I threw it in the handy-dandy microwave (never used to use one, until we moved to the new house) and voila! It was done in like 6 minutes.

After dinner I was heating up a cup of lemon balm tea before bed (recipe here), I popped open the microwave (it’s becoming a regular kitchen appliance now) and there’s the sweet potato still on the plate, fully cooked and now cooled. Oops.

Huh. So now what to do with it. I’ve already eaten dinner. Well, I guess I’ll throw it in a container and figure it out in the AM.

The next morning I decided I was going to attempt to go for another run, later in the day (I have to pump myself up for running, it’s not an activity I particularly like). So I started to plan out my meals for the day so I would have adequate energy for the workout (I was planning on having KD for lunch, as awful as that is).

I’m not one for sweet breakfasts. You’ll usually find me having yogurt and organic seed granola, or eggs and cheese. Mmmm… cheese. But today I wanted to try something different, and I had that damn sweet potato to use.

I love pancakes, but NEVER order them when I go out for breakfast, it’s only something I’ll have at home. So off I hopped to the kitchen to figure it out.

An hour later, and I was making breakfast. (Coffee went cold TWICE during that hour, another great use for the micro-ondes, reheating that cuppa!).

Here’s what you’ll need for these tasty, filling and nutritional pancakes.

  • 3/4 pound sweet potatoes
  • 1 1/2 cups whole-wheat flour
  • 3 1/2 teaspoons baking powder
  • 1 teaspoon salt
  • 1/2 teaspoon ground nutmeg
  • 1/2 teaspoon ground cinnamon (Add more to taste, I love cinnamon and the health benefits!)
  • 2 eggs, beaten
  • 1 1/2 cups milk
  • 1/4 cup butter, melted

Since I had the cooked and cooled sweet potato, the skin came right off. I didn’t have a hard time peeling it at all. I grabbed the hand blender and whipped it up. I didn’t want any chunks of potato in my pancakes.

'Mashed' with a hand blender to make it ultra smooth.

‘Mashed’ with a hand blender to make it ultra smooth.

In a medium bowl, I sifted together flour, baking powder, salt, cinnamon and nutmeg. I did not add ANY sugar to this recipe. It definitely doesn’t need more sugar. You could use all -purpose flour or peanut flour for this recipe too.

Dry ingredients

Next, in a separate medium bowl, I mixed mashed sweet potatoes, eggs, milk and butter.

Wet ingredients

WhiskingBlend sweet potato mixture into the flour mixture to form a batter. The mixture took a bit to combine and I used a whisk to bring it all together. Careful of splashing that milk around! I got it all over the counter.

Next, preheat a lightly greased griddle over medium-high heat. I used organic coconut oil. Man, that was the best decision of the day. The light coconut oil flavoured the pancakes beautifully and they were not greasy at all. Perfect combination! There are not many things I like to cook in coconut oil, but this one is being added to the list. Score.

Coconut oil for greasing

Coconut oil for greasing

Melted coconut oil

Melted coconut oil

Pancake batter

Pancake batter

The batter was a BIT thick the first time I tried to pour the pancake. I added a bit of extra milk after to thin it out. You basically just have to move the batter around in the pan with a spoon for spatula to get it to shape. Otherwise you’ll end up with a big blob.

In the pan!

In the pan!

Alrighty! We are making progress. My pancakes didn’t stick AT ALL. They moved around quite quickly in the pan. I waited until I saw the edges bubble then flipped. Just check the bottom of it to your desired doneness, and flip!

Flip!

Flip!

Now let’s see how they turned out! I put a small dab of butter and a bit of syrup. I loooove butter. The pancakes were crispy on the edges and cooked perfectly inside. They are definitely more dense than your regular box-pancake but I’m okay with that. I think the whole-wheat flour attributed to that.

The finished product

The finished product

I ate two for breakfast and cooked the rest of the batter. I stored them in a container, and popped them in the fridge. This morning (day after) I took one out, and put it in the toaster. It was perfectly warmed while still being crispy on the outside. I can’t wait to have another for lunch 🙂 Great on-the-go breakfast too!

As for my run later.. I had a really big salad for lunch with my fresh fenugreek sprouts (see post here). Ahh so tasty. I had a small sandwich later in the afternoon because I got hungry. Ended up going for a 3k run at 7pm. My shins were still really sore from my run two days ago, but I made it. I didn’t like it, but I made it. I felt I had enough energy, but probably should have eaten more during the day. Today is a rest day since I have softball tonight, that will warm my legs up! Hoping to hit the road again tomorrow, maybe I’ll try a lunch run. –

Thanks for reading! I hope you enjoy the pancake recipe. Do you have any fun sweet potato recipes you’d like to share? Post a comment!

Enjoy!

Sprouting Seeds

I have a new obsession! Sprouting seeds!

Jar method

Last Christmas I was given a seed sprouting kit and was over the moon about it. The seeds however, were not good quality and they did not turn out like I had expected. I can’t remember the brand or the seed type, but they weren’t that good taste wise, and only gave enough for one jar of sprouts. Total bummer.

Thing is, when you buy kits like that, you are not entirely sure how old the seeds are and if they are in fact, organic. So no fault of my beau for picking up the nifty kit, sadly you just never know the quality with the pre-made kits.

I didn’t throw away the jar that came with the kit..I packed it safely away because I knew sprouting was in my future. Sure enough, sprouting popped back up (heh, pun intended) when I volunteered at the Guelph Organic Conference this past February.  I was able to be A/V support for a seed sprouting workshop! Sweet. Lisa Mumm, (daughter of the owners of Mumms Sprouting Seeds) flew in from Saskatchewan to speak to us. What a treat. Lisa was kind enough to bring examples of sprouted seeds to show the group. I was really stunned at how easy it is! Although I had tried it before, she showed the tray method, had a display of fresh sprouts and really broke it down as to how easy it can be, on your own kitchen counter. I was not only armed with new information, I was inspired.

So why sprout anyway? Sprouting raw nuts, seeds, beans and grains is one of the quickest, easiest ways to pack a group of nutrients into your body in just one handful. Raw nuts and seeds especially already have so many good nutrients awaiting you, when you sprout them, the nutritional profile multiplies. The quality of the protein in the beans, nuts, seeds, or grains improves when it is sprouted.  Proteins change during the soaking and sprouting process, improving its nutritional value. The amino acid lysine, for example, which is needed to prevent cold sores and to maintain a healthy immune system increases significantly during the sprouting process.

Read more: http://www.care2.com/greenliving/10-reasons-to-eat-sprouts.html#ixzz2bmtvySKQ

According to this study from the International Journal of Applied Science, sprouts have the highest concentration of phytonutrients per calorie of any food. Phytonutrients play an active role in the amelioration of disease. Just 100 grams a day of sprouts may prevent cancer. See the research from the University of Ulster.

Variety PackTook me awhile, but eventually I dug out the jar from the boxes we had in the basement after we moved. I hopped online, went directly to http://www.sprouting.com and ordered the Variety Pack which came with a Starter kit and a whackload of different seeds.

Alfalfa Seeds

I started sprouting Alfalfa right away and we enjoyed it in a salad 3 days later. So delicious and sweet and MUCH better than the alfalfa you buy in the store. In fact I never buy store bought alfalfa because I don’t like the taste. Trust me, Mumms alfalfa seeds are the bomb. Hmm! I wonder if you could make a seed bomb from these babies? That would be a fun project.

Alfalfa

Alfalfa sprouts after 3 days

Fenugreek in the tray, after soaking and first rinse.

Fenugreek in the tray, after soaking and first rinse.

 Anyway, I am experimenting both ways with the seeds, both jar and tray. 

Today I started sprouting Fenugreek and Oriental Mustard. Fenugreek in the tray and mustard in the jar.

The mustard seeds are supposed to be hot, and I can’t wait to add them to a salad when they’re ready. I love me some spicy sprouts!  

I had a tray from growing seedlings this spring and so I just poked drain holes in it and after soaking the fenugreek, I spread them across the bottom. Don’t forget to wash all your containers thoroughly before using. Especially if you used your tray outside. You want to ensure it’s super clean and free from contaminants/dirt.

Oriental Mustard seeds after soaking and first rinse.

Oriental Mustard seeds after soaking and first rinse.

Next purchase will be the Baby Blanket. I wanted to try sprouting without it first to see how it goes, wish me luck! Basically the baby blanket is a felted grass material that holds moisture around the roots for more even growing conditions. It allows growing soil type sprouts without the mess of soil and without the difficulty of getting good safe organic soil. 

I couldn’t wait to share this experience with you, it’s so exciting to eat fresh sprouts that you are able to watch grow in your own kitchen in a matter of days. What a great kids project too! Not only is it fun, but the health benefits are insane. According to this study from the International Journal of Applied Science, sprouts have the highest concentration of phytonutrients per calorie of any food. Phytonutrients play an active role in the amelioration of disease. Just 100 grams a day of sprouts may prevent cancer. See the research from the University of Ulster.

Have you ever sprouted seeds? If so, what are your favourite brands and methods?

Raw food is a wonderful thing.. I plan to continue sprouting for the rest of the year. I look forward to learning about all the new ways I can use these lovely sprouts in my every day meals. Have you noticed any health benefits from eating sprouts?

Garlic and Cheese Omelet

Good Morning Lover Faces!

I have been away for a while, and for that I’m sorry. Life in the burbs has been keeping me ultra-busy! This month alone there has been Mother’s Day, dinner parties, BBQ’s and friends coming over to see the new house.  This past weekend I had a bachelorette DAY for my cousin Marisa, and coming up two weddings, back to back weekends.  Needless to say between dinner parties with friends, cleaning the house and keeping on top of laundry I just haven’t had an opportunity to sit down and write.

I DO have the time now and really want to share this delicious omelet with you!

I often shy away from ordering omelets in restaurants because they are usually really skimpy with the cheese (even when I ask for extra because I’m forecasting that they will be skimpy).  They also never fill it to the edge so you end up getting a whack of dried out crispy egg edge without any of the goodness in the middle (or the skimpy cheese they threw in).

This morning I thought I would reignite my love of omelets.  But first, I need to tell you about frozen garlic.  Yep, you read it right, let me explain.

For those of you who know me, I am a bit of a garlic snob.  I usually buy my garlic from a local garlic farmer, and can only get my order once a year. I usually spend $60 on a bag of different types, all grown locally by this wonderful farmer named Daniel Hoffman.  He and his wife own two farms and he started off as a garlic farmer. I have volunteered on the farm before and learned so much about farming, garlic and local, sustainable produce.  Check out his site The Cutting Veg, if you’re interested in learning about REAL garlic.  Trust me, you will be blown away.

A few weeks ago my mom picked up some fresh local garlic for me from the local Foodland since I haven’t ordered from Daniel (not my fault, he actually wasn’t selling his last harvest in order to double it for next year).  Whenever I go visit her or she comes to see me, I put in an order. It’s grown by local Mennonites and it’s really awesome.  I don’t know the variety, but it’s fresh and lovely and NOT shipped in from China. I have nothing against China, but I absolutely HATE any garlic that is grown there. It pains me to buy from the grocery store. It really does. I whine a lot when I have to buy from NoFrills, Loblaws, or FreshCo.

Anyway.

So because I didn’t see my mom right away and the garlic was super pungent smelling, she froze it. Four heads of it. She gave it to me this past weekend and since it had defrosted, and the cloves felt a little soft I thought I’d roast it.  Roasted garlic is amazing in almost EVERYTHING. It stores well too, and you can take the roasted cloves, drop them in some good-quality EVOO and use it while cooking or add to salad dressings.

While I was thinking about what I wanted in my omelet (beside cheese, obviously), I thought why the hell not add some freshly defrosted garlic! Ha!

So it looked kind of green but the smell was just as fresh. Here are a few pics of the garlic. You can see I popped one clove out from one of the heads.

Garlic

Garlic

The tops of the garlic chopped off, ready for roasting!

I chopped up fresh crimini mushrooms and a bit of left over red onion. I sautéed the garlic, mushrooms and onion in some butter and olive oil, until softened.  Mmmm the smell of garlic makes me crazy. I absolutely love it. I removed it from the pan, re-added a tsp of olive oil and a nob of butter for the omelet.

They key to a good omelet is not over cooking it (and adding enough cheese, of course!)

Ingredients:

–          3 eggs

–          Pinch of salt

–          Pinch of pepper

–          Chopped filling of your choice: mushrooms, tomatoes, asparagus, peppers, onions.. the list goes on.

–          CHEESE

Directions:

  1. Whisk the eggs together.  I don’t add cream or milk or anything, just a pinch of salt and pepper. Set aside.
  2. Lightly cook your filling ingredients until softened and set aside.
  3. Add a tsp of oil and butter to a really good non-stick pan that’s on medium heat (non-stick is essential as it won’t give you any grief and your omelet will slide right out). You don’t want to cook the eggs too fast, so medium heat only. Don’t rush!
  4. Add the whisked eggs. You can move them around in the pan with a fork, and swishing around the liquid egg into the empty spaces of the pan. Kind of like you’re about to scramble, but don’t. Keep moving it around in the pan for another 20 seconds.
  5. Add the fillings and cheese when you see that the egg is still a little bit wet on top. Just a little wet, not totally raw. That moisture will help melt the cheese and give you a velvety, soft, creamy inside to your omelet. Make sure you go to the edge with the filling!
  6. Pick up the pan by the handle and lightly move the open faced omelet to one side, allowing your spatula or flipper to get underneath. It should move really easily.
  7. Fold over one edge, and voila. You should see a lightly browned top flipped over. Allow it to sit there, folded for another 20-40 seconds. Slide off onto your plate and ENJOY.

Omelet with cheese and mushrooms Perfect inside

Perfect edge

Oh wow, the garlic is sweet but garlicky. The aroma is amazing. I wish this was a smell-a-blog.  Freezing it must change the taste of the garlic, because I’ve never tasted cooked garlic like this. It’s really lovely with the onion and mushrooms, which also taste earthy and sweet. I used Dubliner cheese for the cheesy part. It was perfect and nutty and melty. A great choice.

Dubliner Cheese
This is a fantastic hard ripened cheese, perfect for the omelet!